


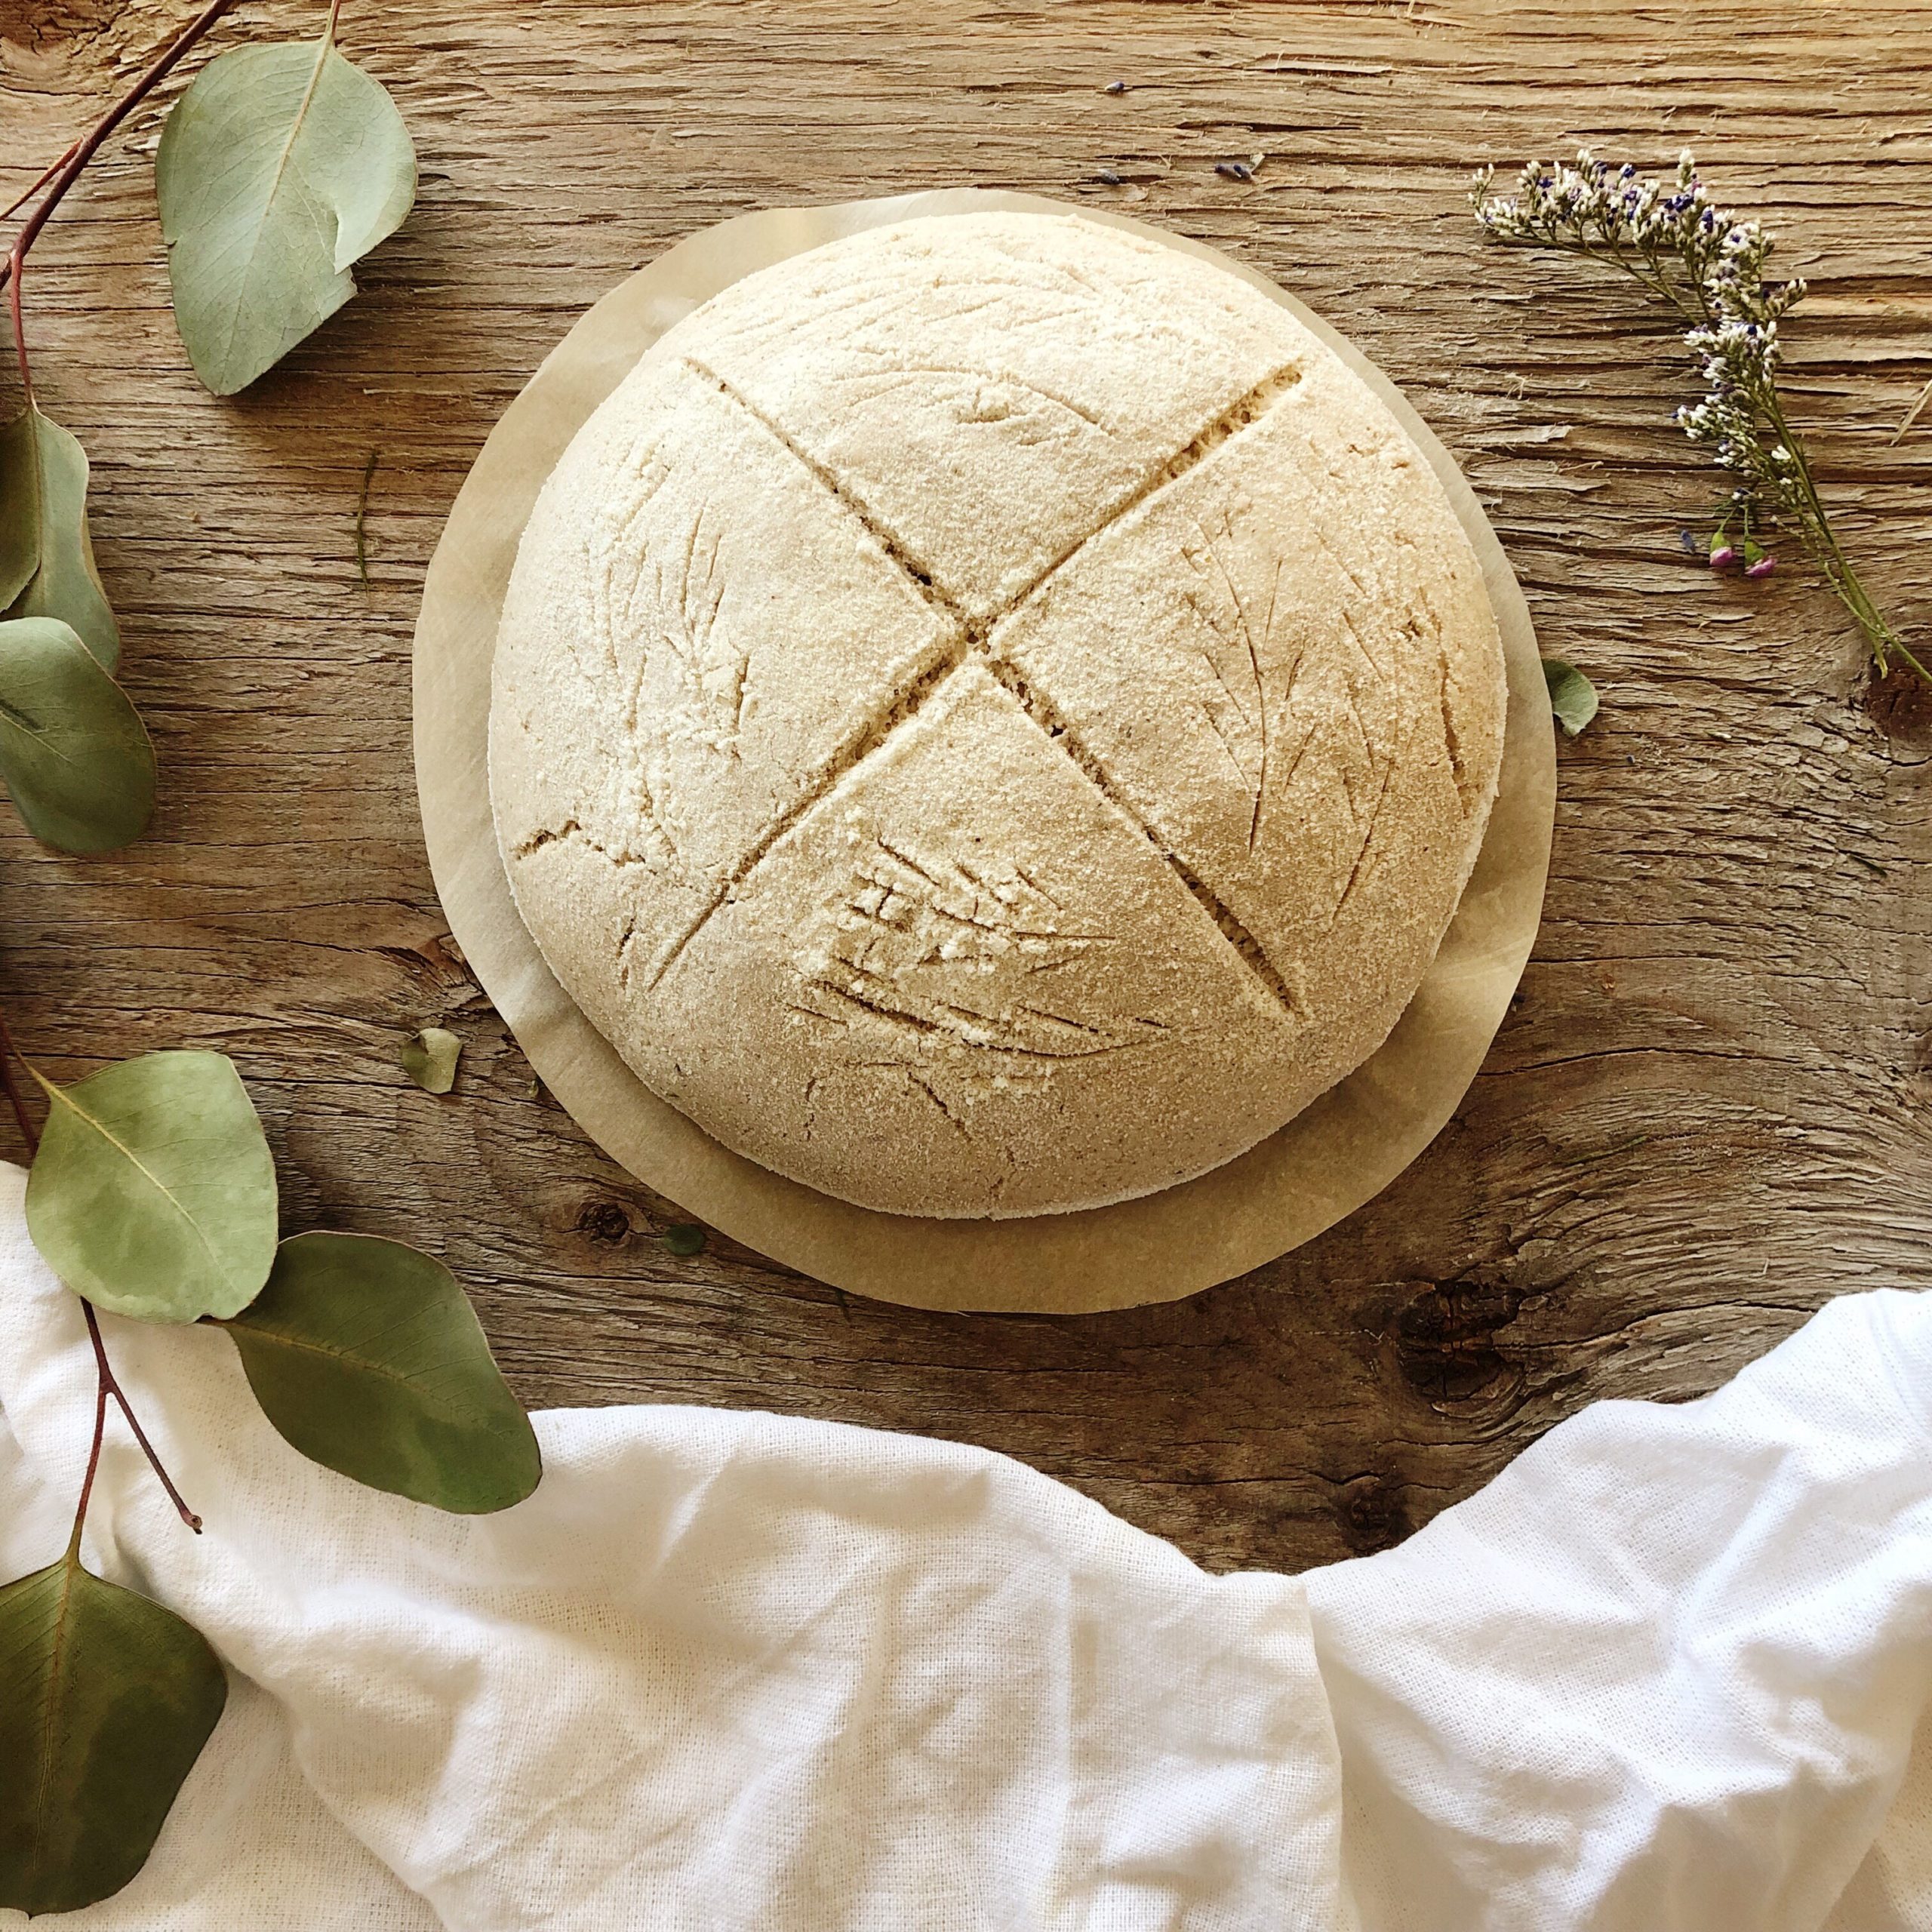
There is nothing like the smell of bread baking and lately it’s been a weekly aroma, wafting out of the kitchen. Even the yeasty sourdough fermenting on the bench smells so good.
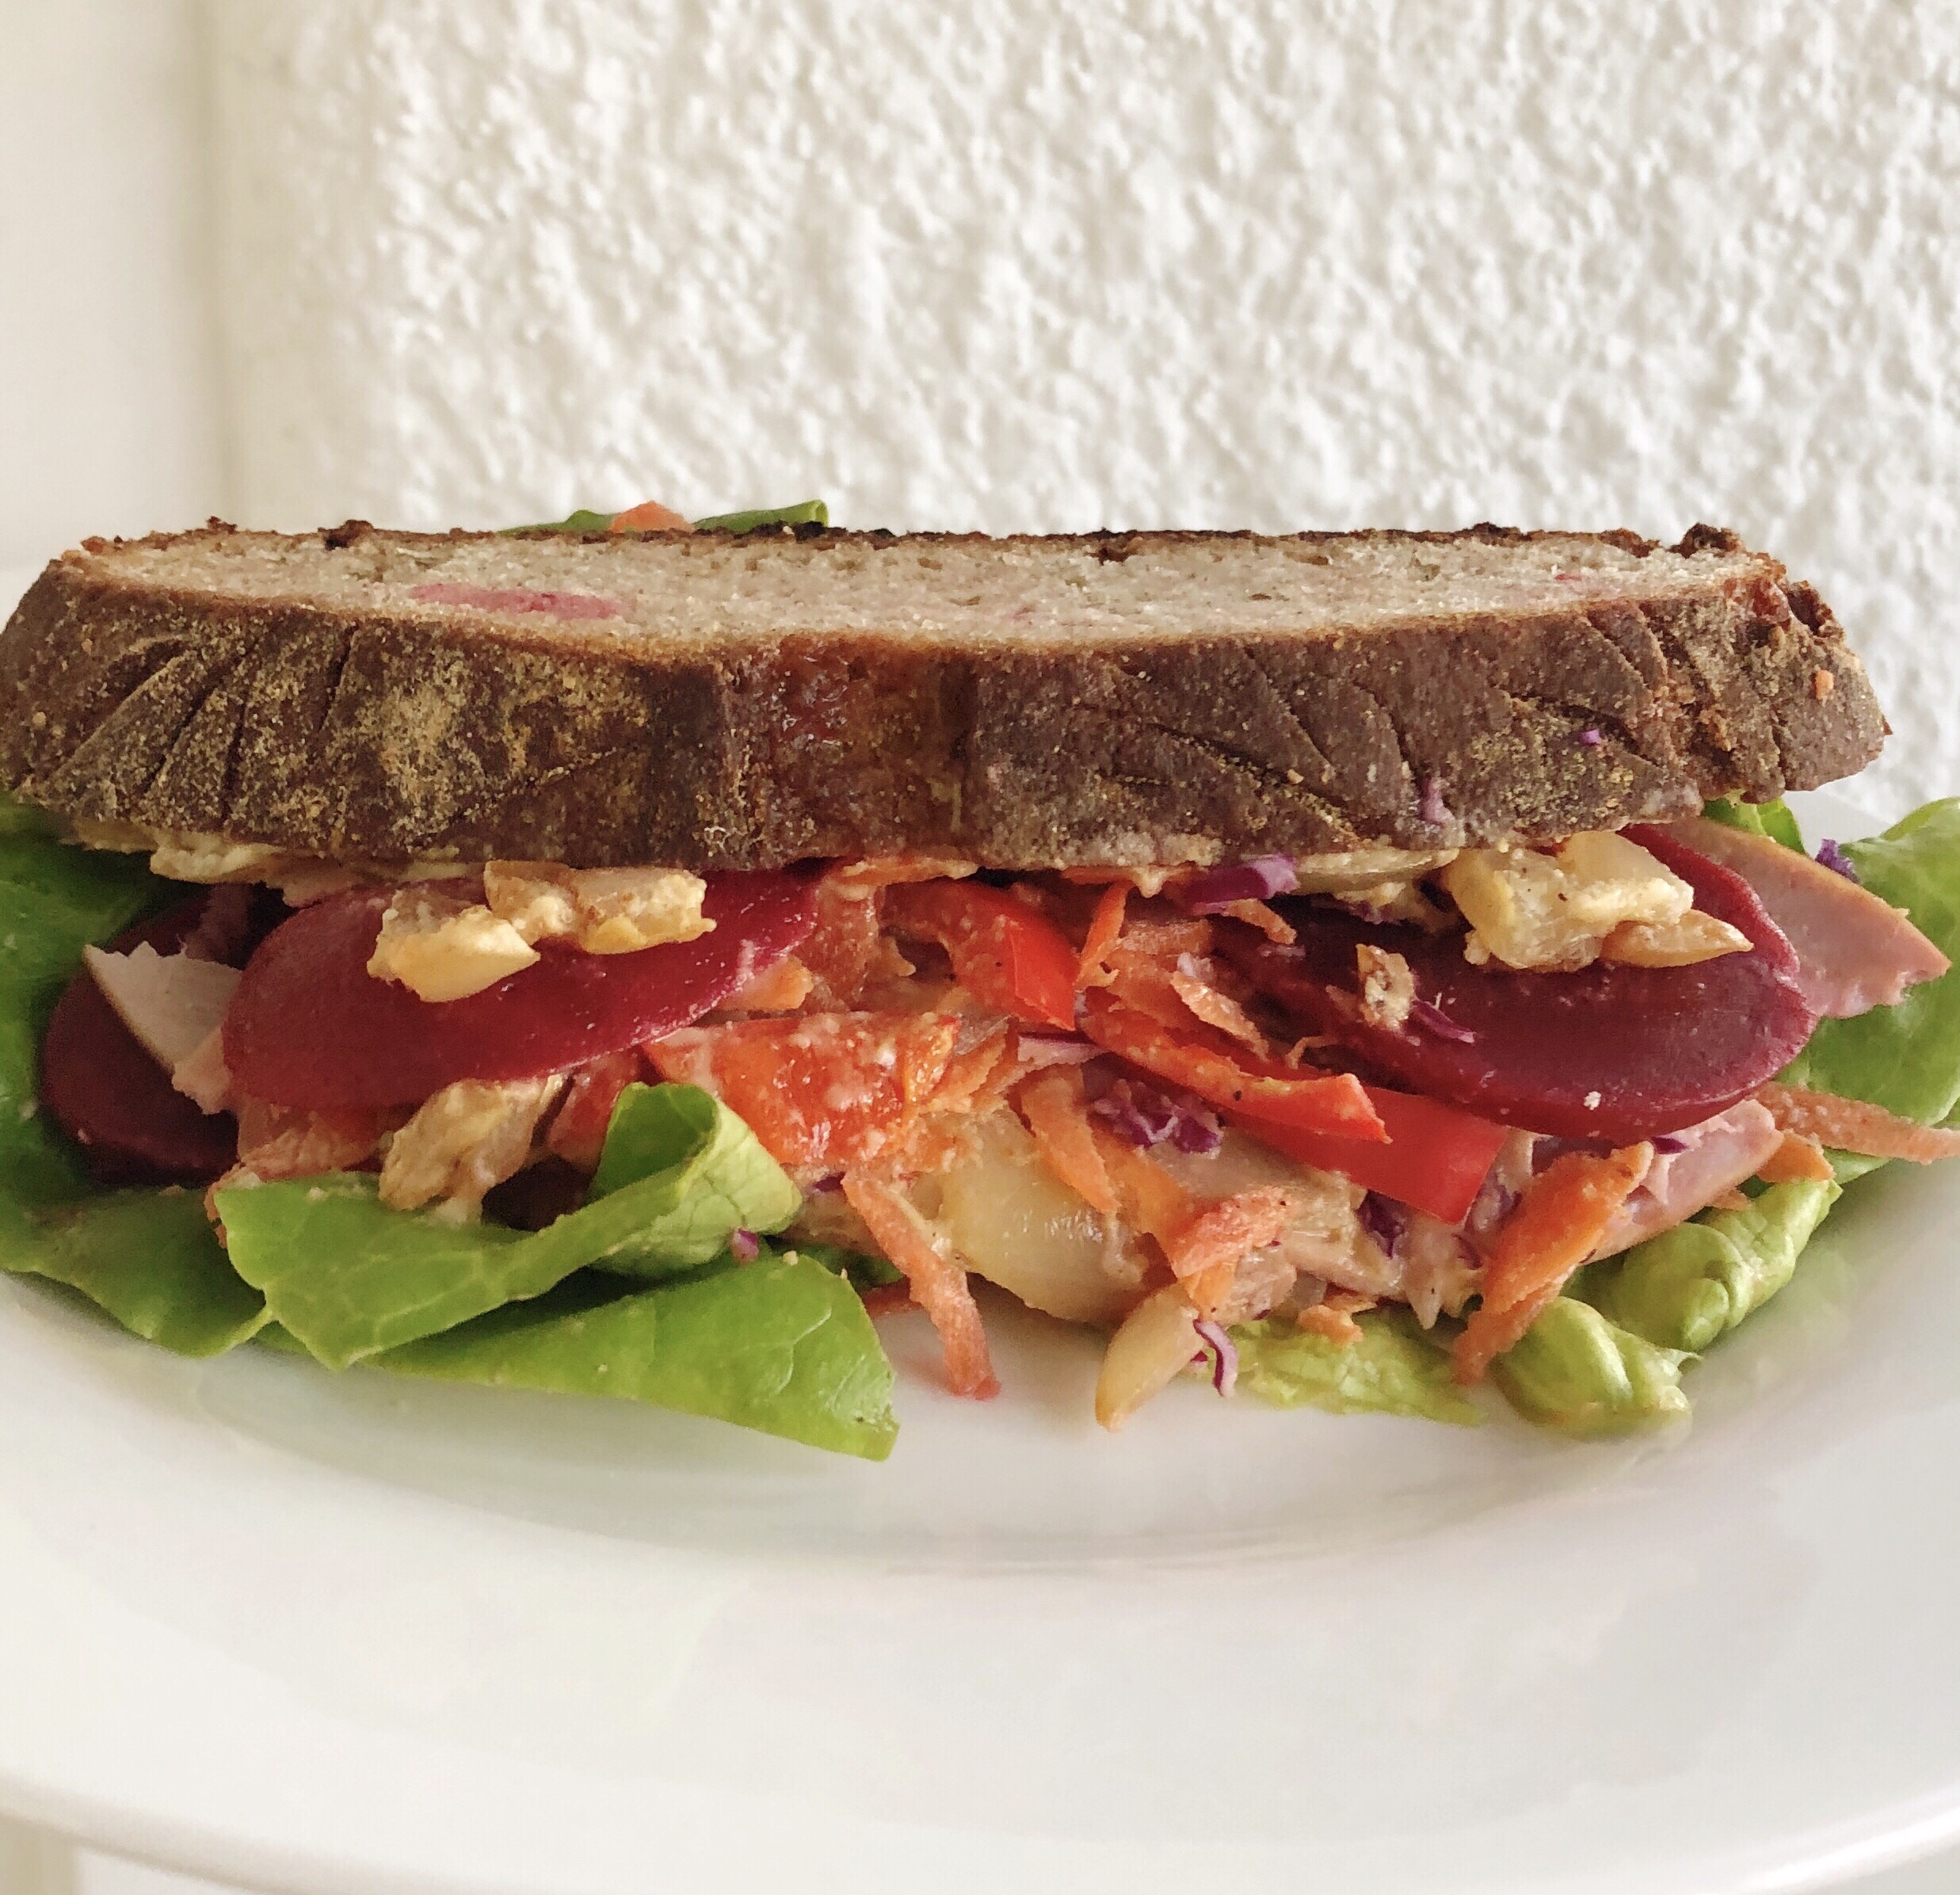
Here is the latest gluten free sourdough bread recipe that I have been working with. It lasts for about a week for one to two people.
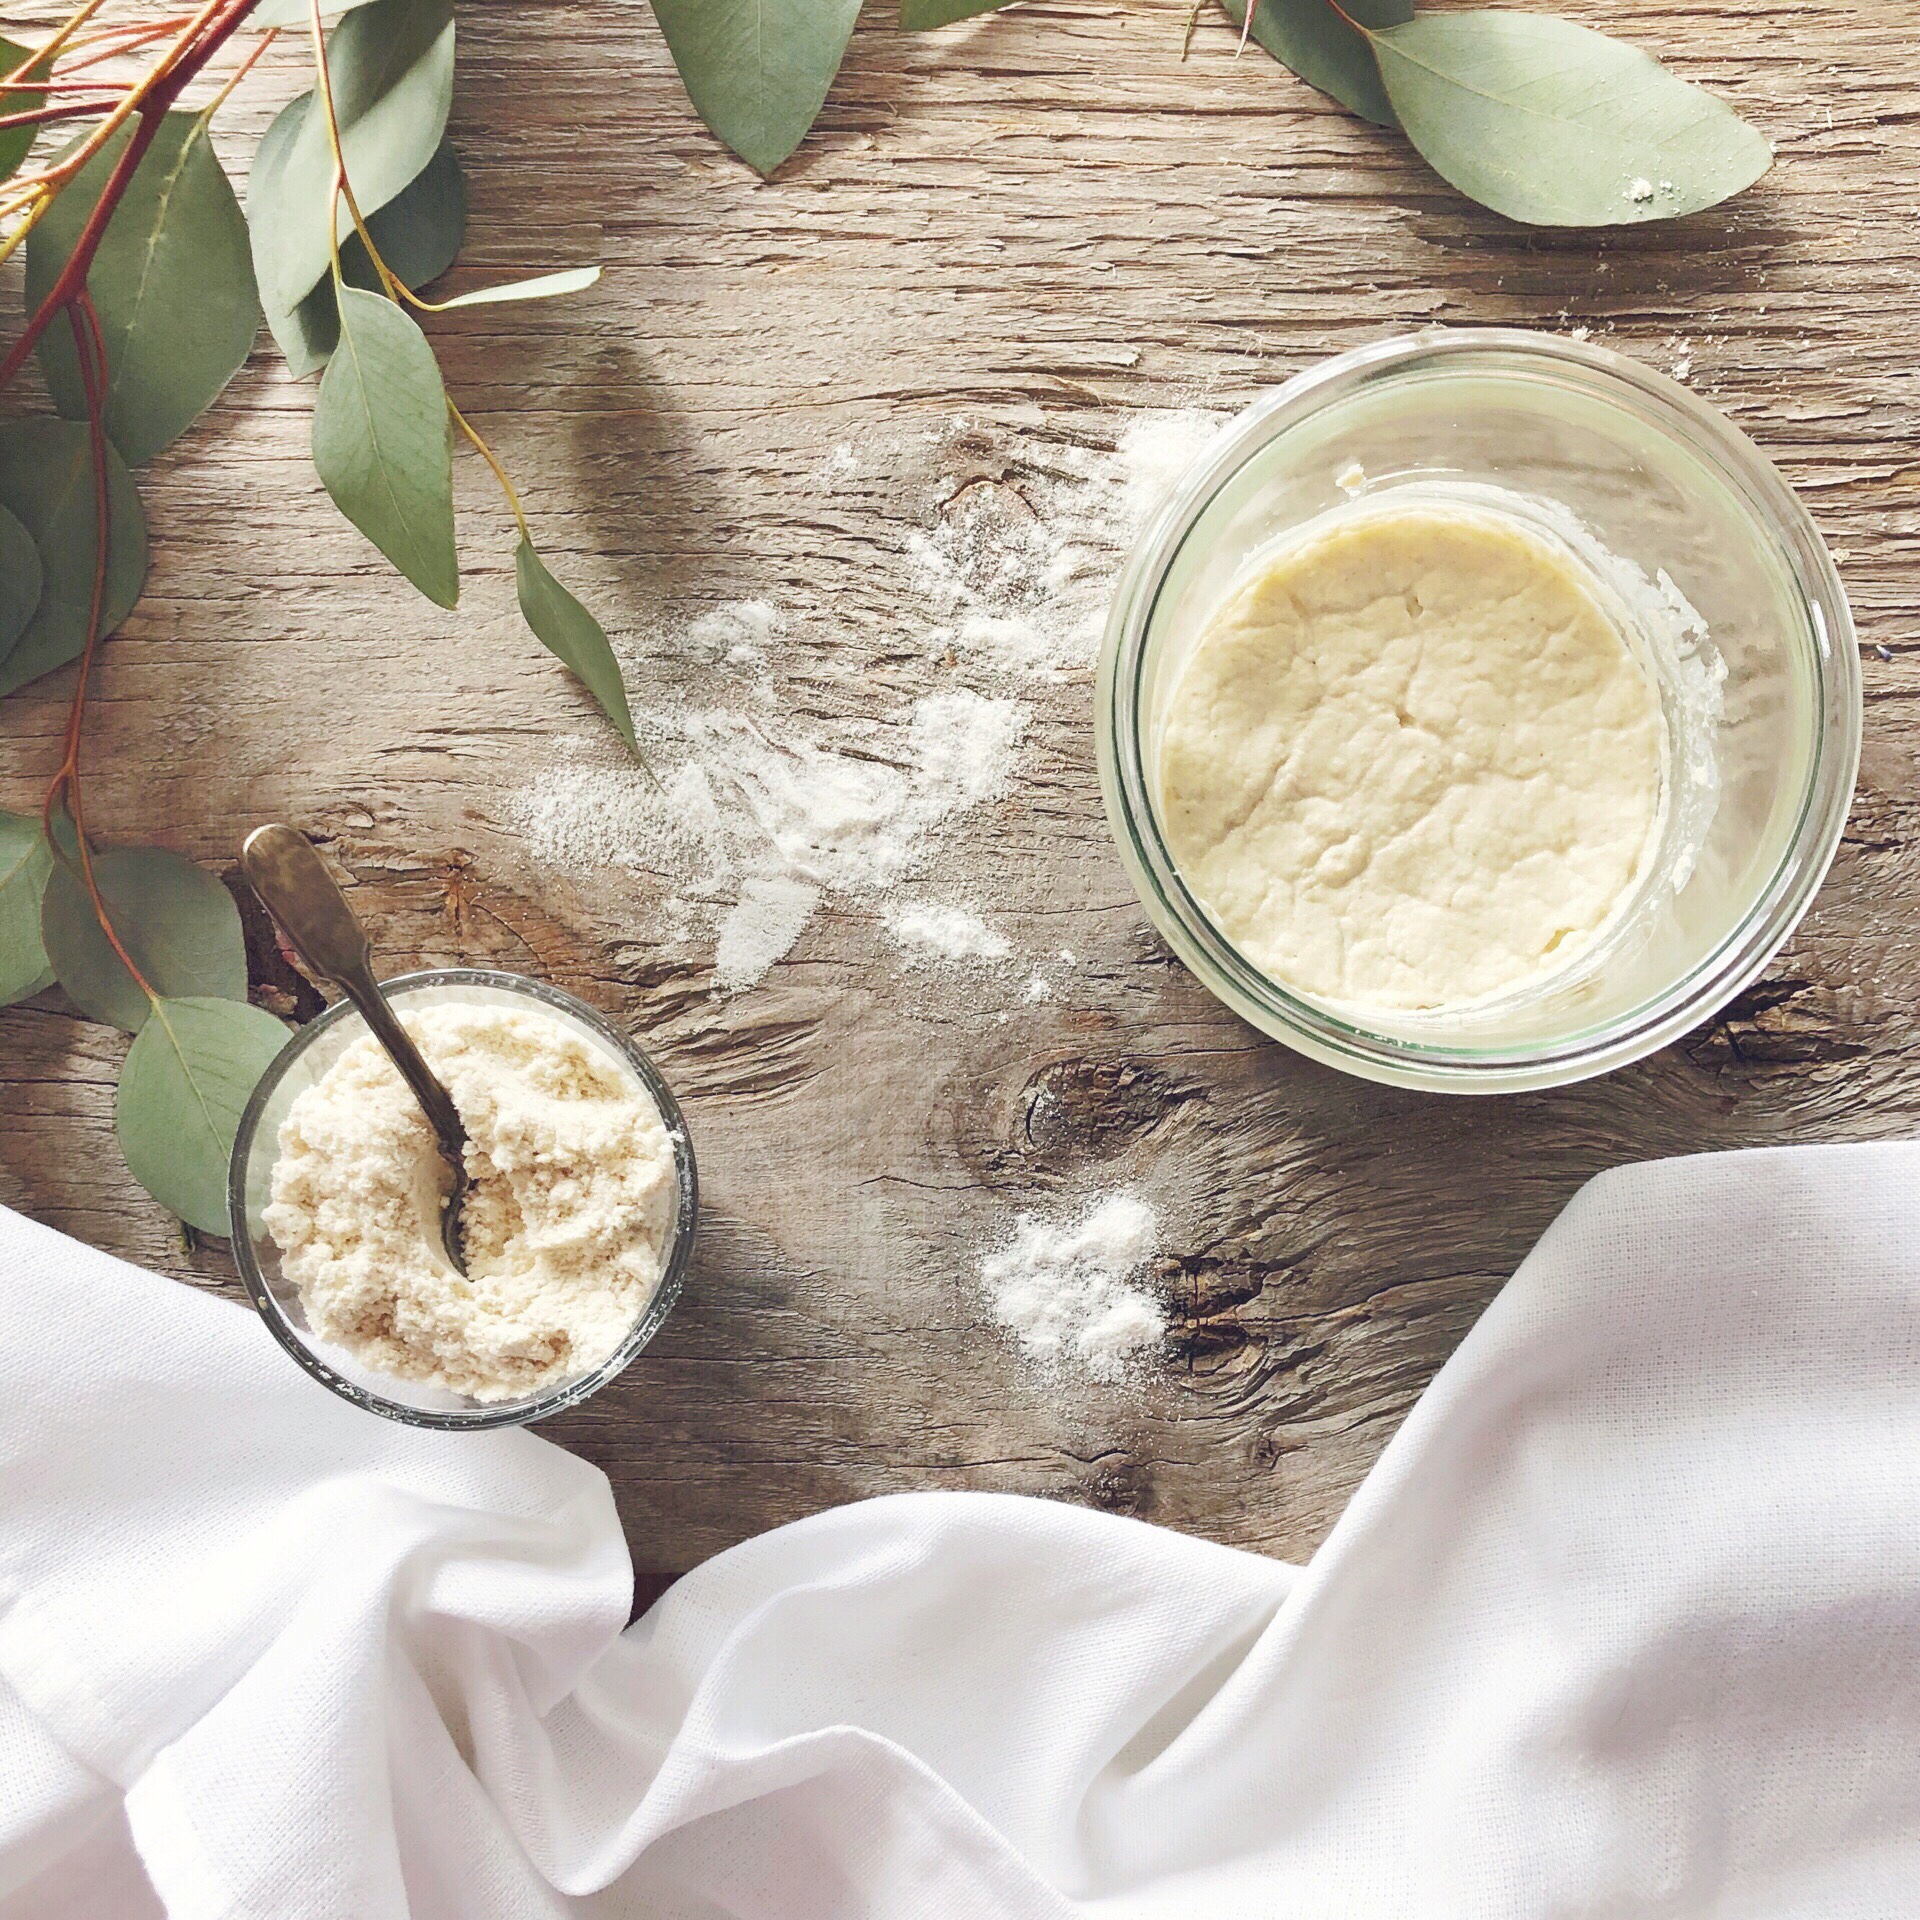
This recipe has been evolving over the past few months through trial and error and mainly with the use of different flour blends. Here is the mix I like the best….
In the evening take 30 g active starter, but make sure to leave some behind for future batches.
Feed 30 g of starter with 60 g flour and 70 mls water. This feeding was with 30 g of quinoa flour and 30 g of brown rice flour.
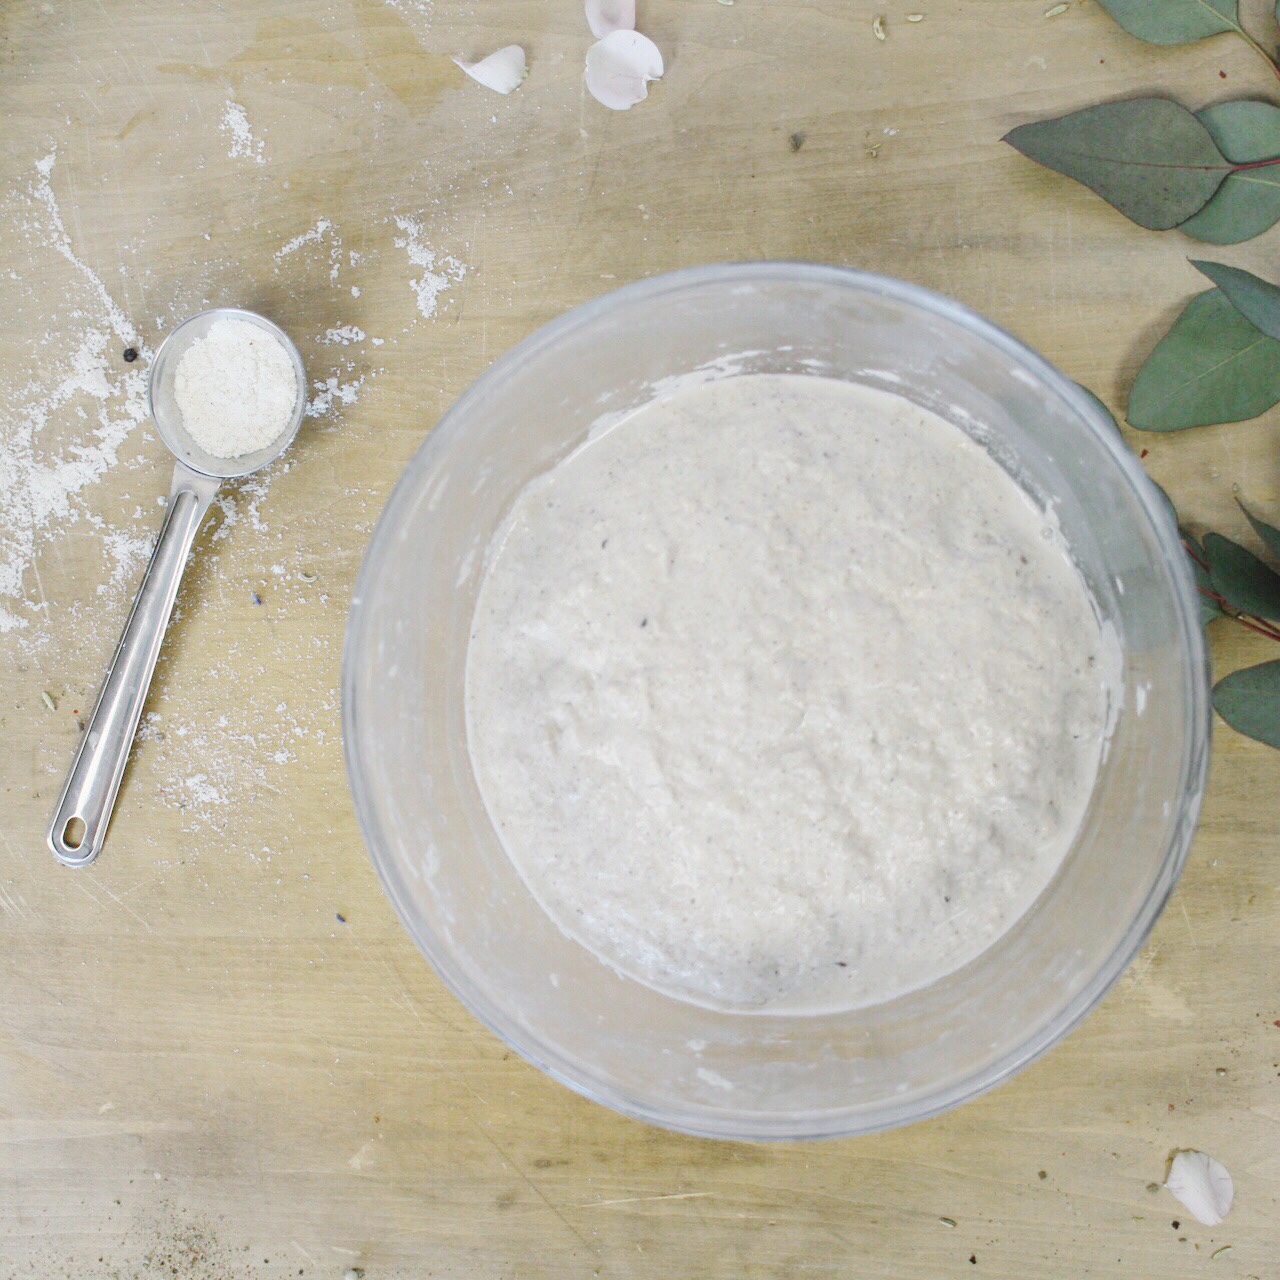
The next morning mix together the dough.
Multi flour Sourdough
Ingredients
- 20 g teff flour
- 20 g quinoa flour
- 40 g buckwheat flour
- 50 g oat flour
- 50 g sweet white rice flour
- 60 g cornstarch
- 60 g tapioca starch
- 60 g sorghum flour
- 8 g salt
- 2 tbsp whole psyllium husk
- 2 tbsn honey
- 1 tsp carraway seeds
- 340 mls warm non-chlorinated water
- 20 mls kefir water or use water
Instructions
- Beat all of the ingredients for a few minutes until well combined
- Add the 135 g of starter from the night before.
- Let the dough rest in a warm place at 20 – 24°C for about 30 minutes.
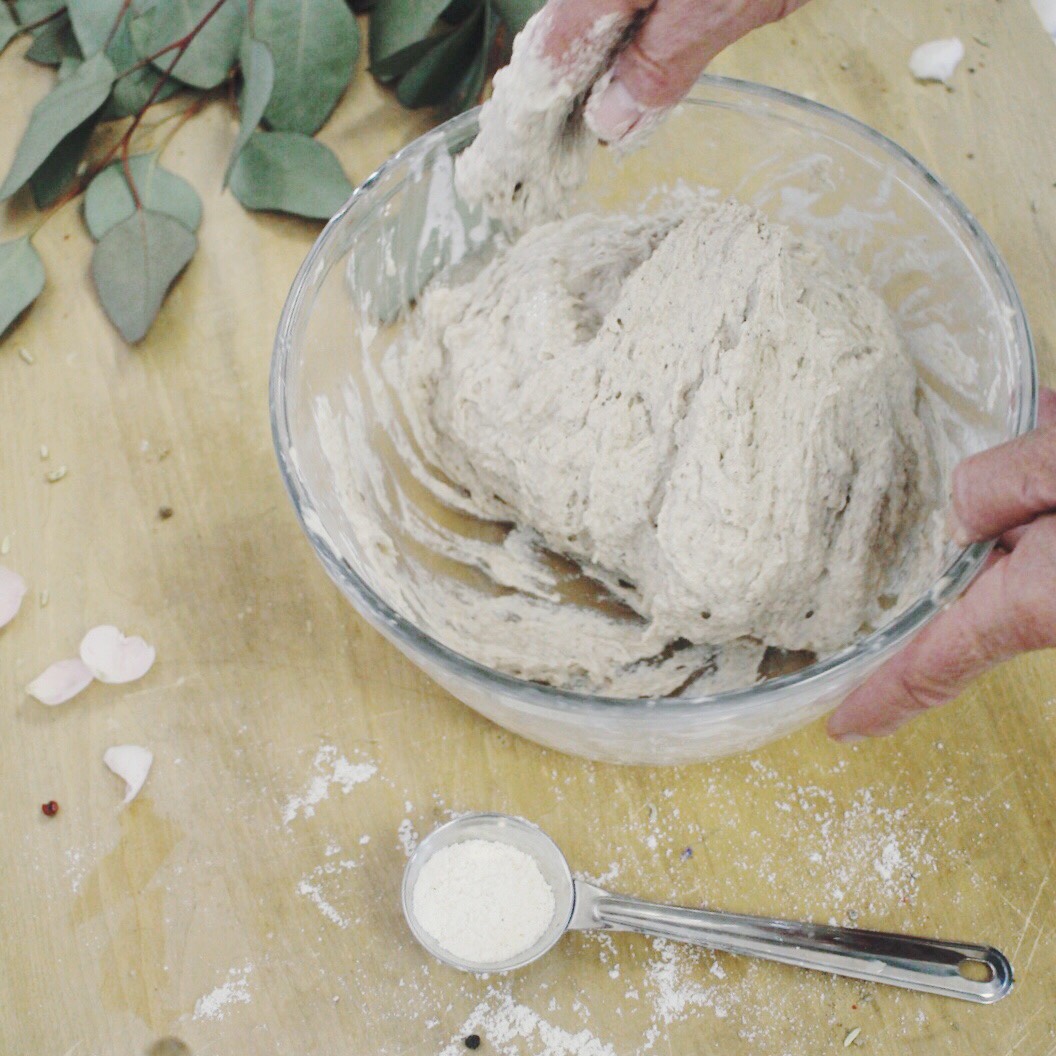
- With wet hands and 10 mls of kefir water or just water. Fold the sides over from the bottom up to top to form a ball, about 6-8 times for aeration . Do this 2 more times with 10 mls of kefir water or water, roughly every 30 minutes.
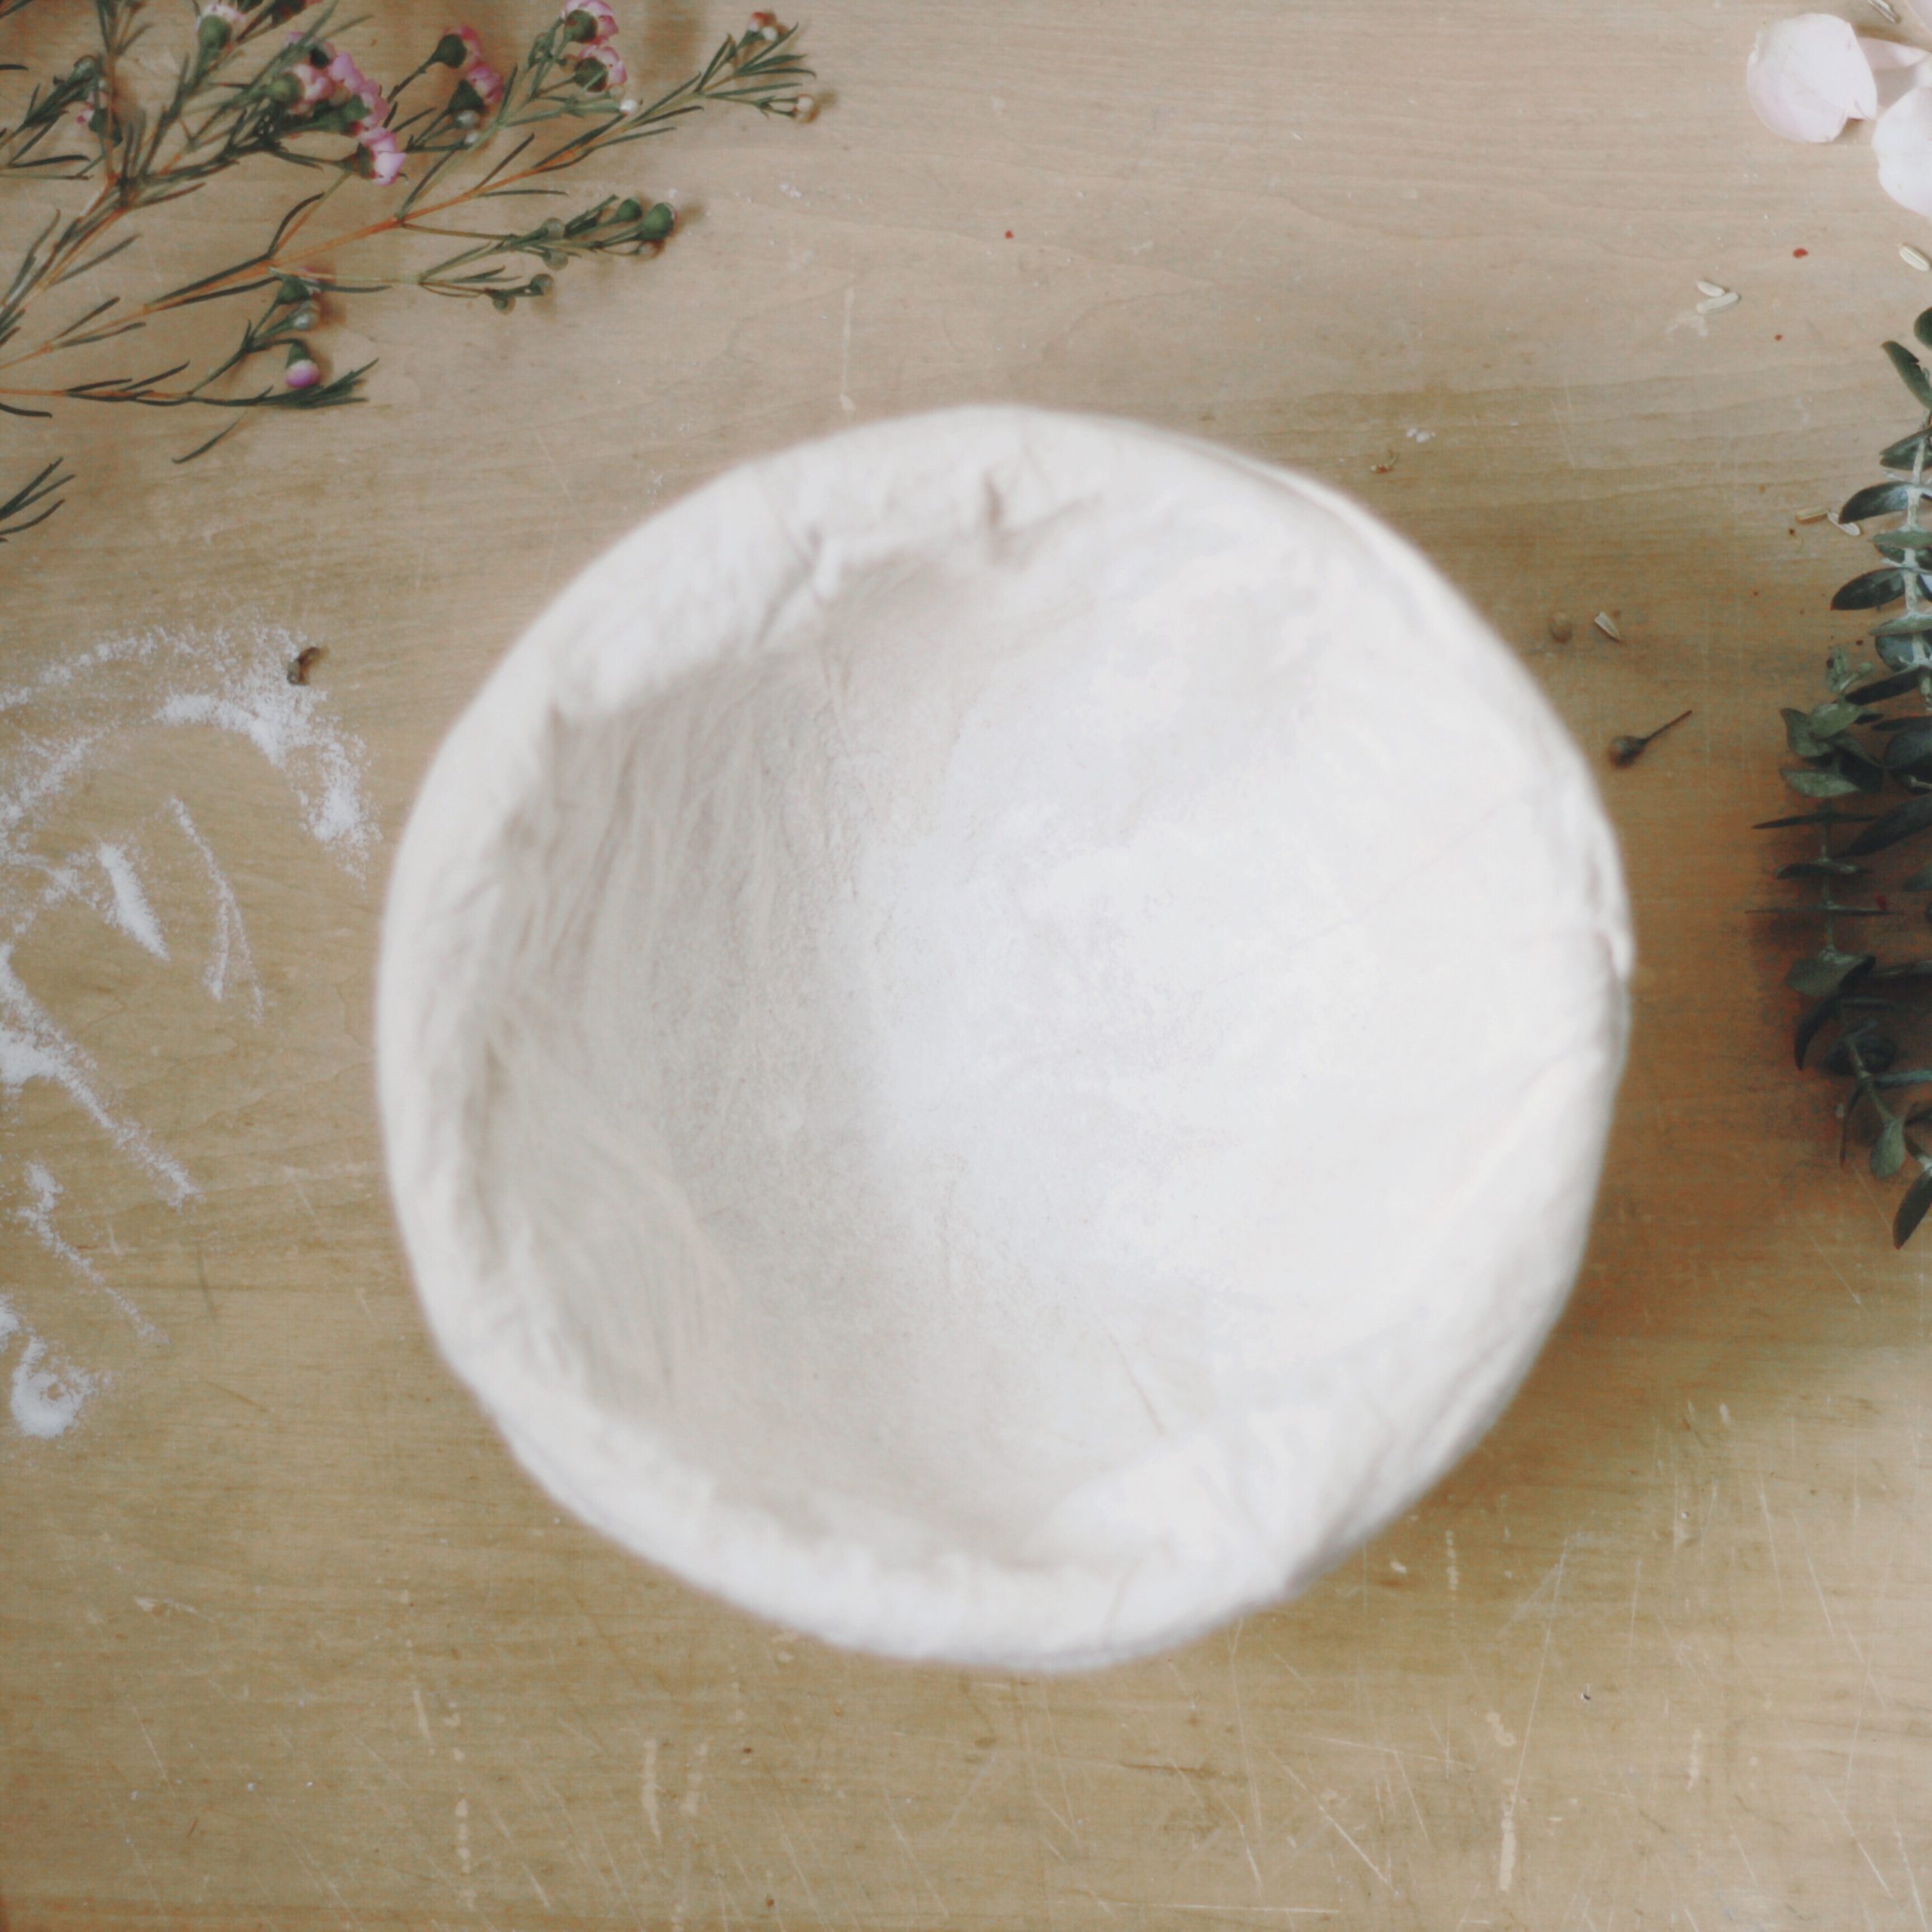
- When the dough has shown signs of active growth and increased in volume by 20-40 % with a noticeable dome – this could take about 3-5 hours. Then gently place the dough in a well floured banneton and rest another 30 mins to an hour.
- Place the banneton and dough into a sealed plastic bag and leave the dough covered in the fridge overnight.
- In the morning remove the dough from the fridge, still in the plastic bag and sit it on the counter, at room temp a couple of hours.
- Tip the dough out onto parchment paper and score the top with a sharp knife or lame.
- Rest the dough on top of the stove while heating your oven to 500°F (250°C)
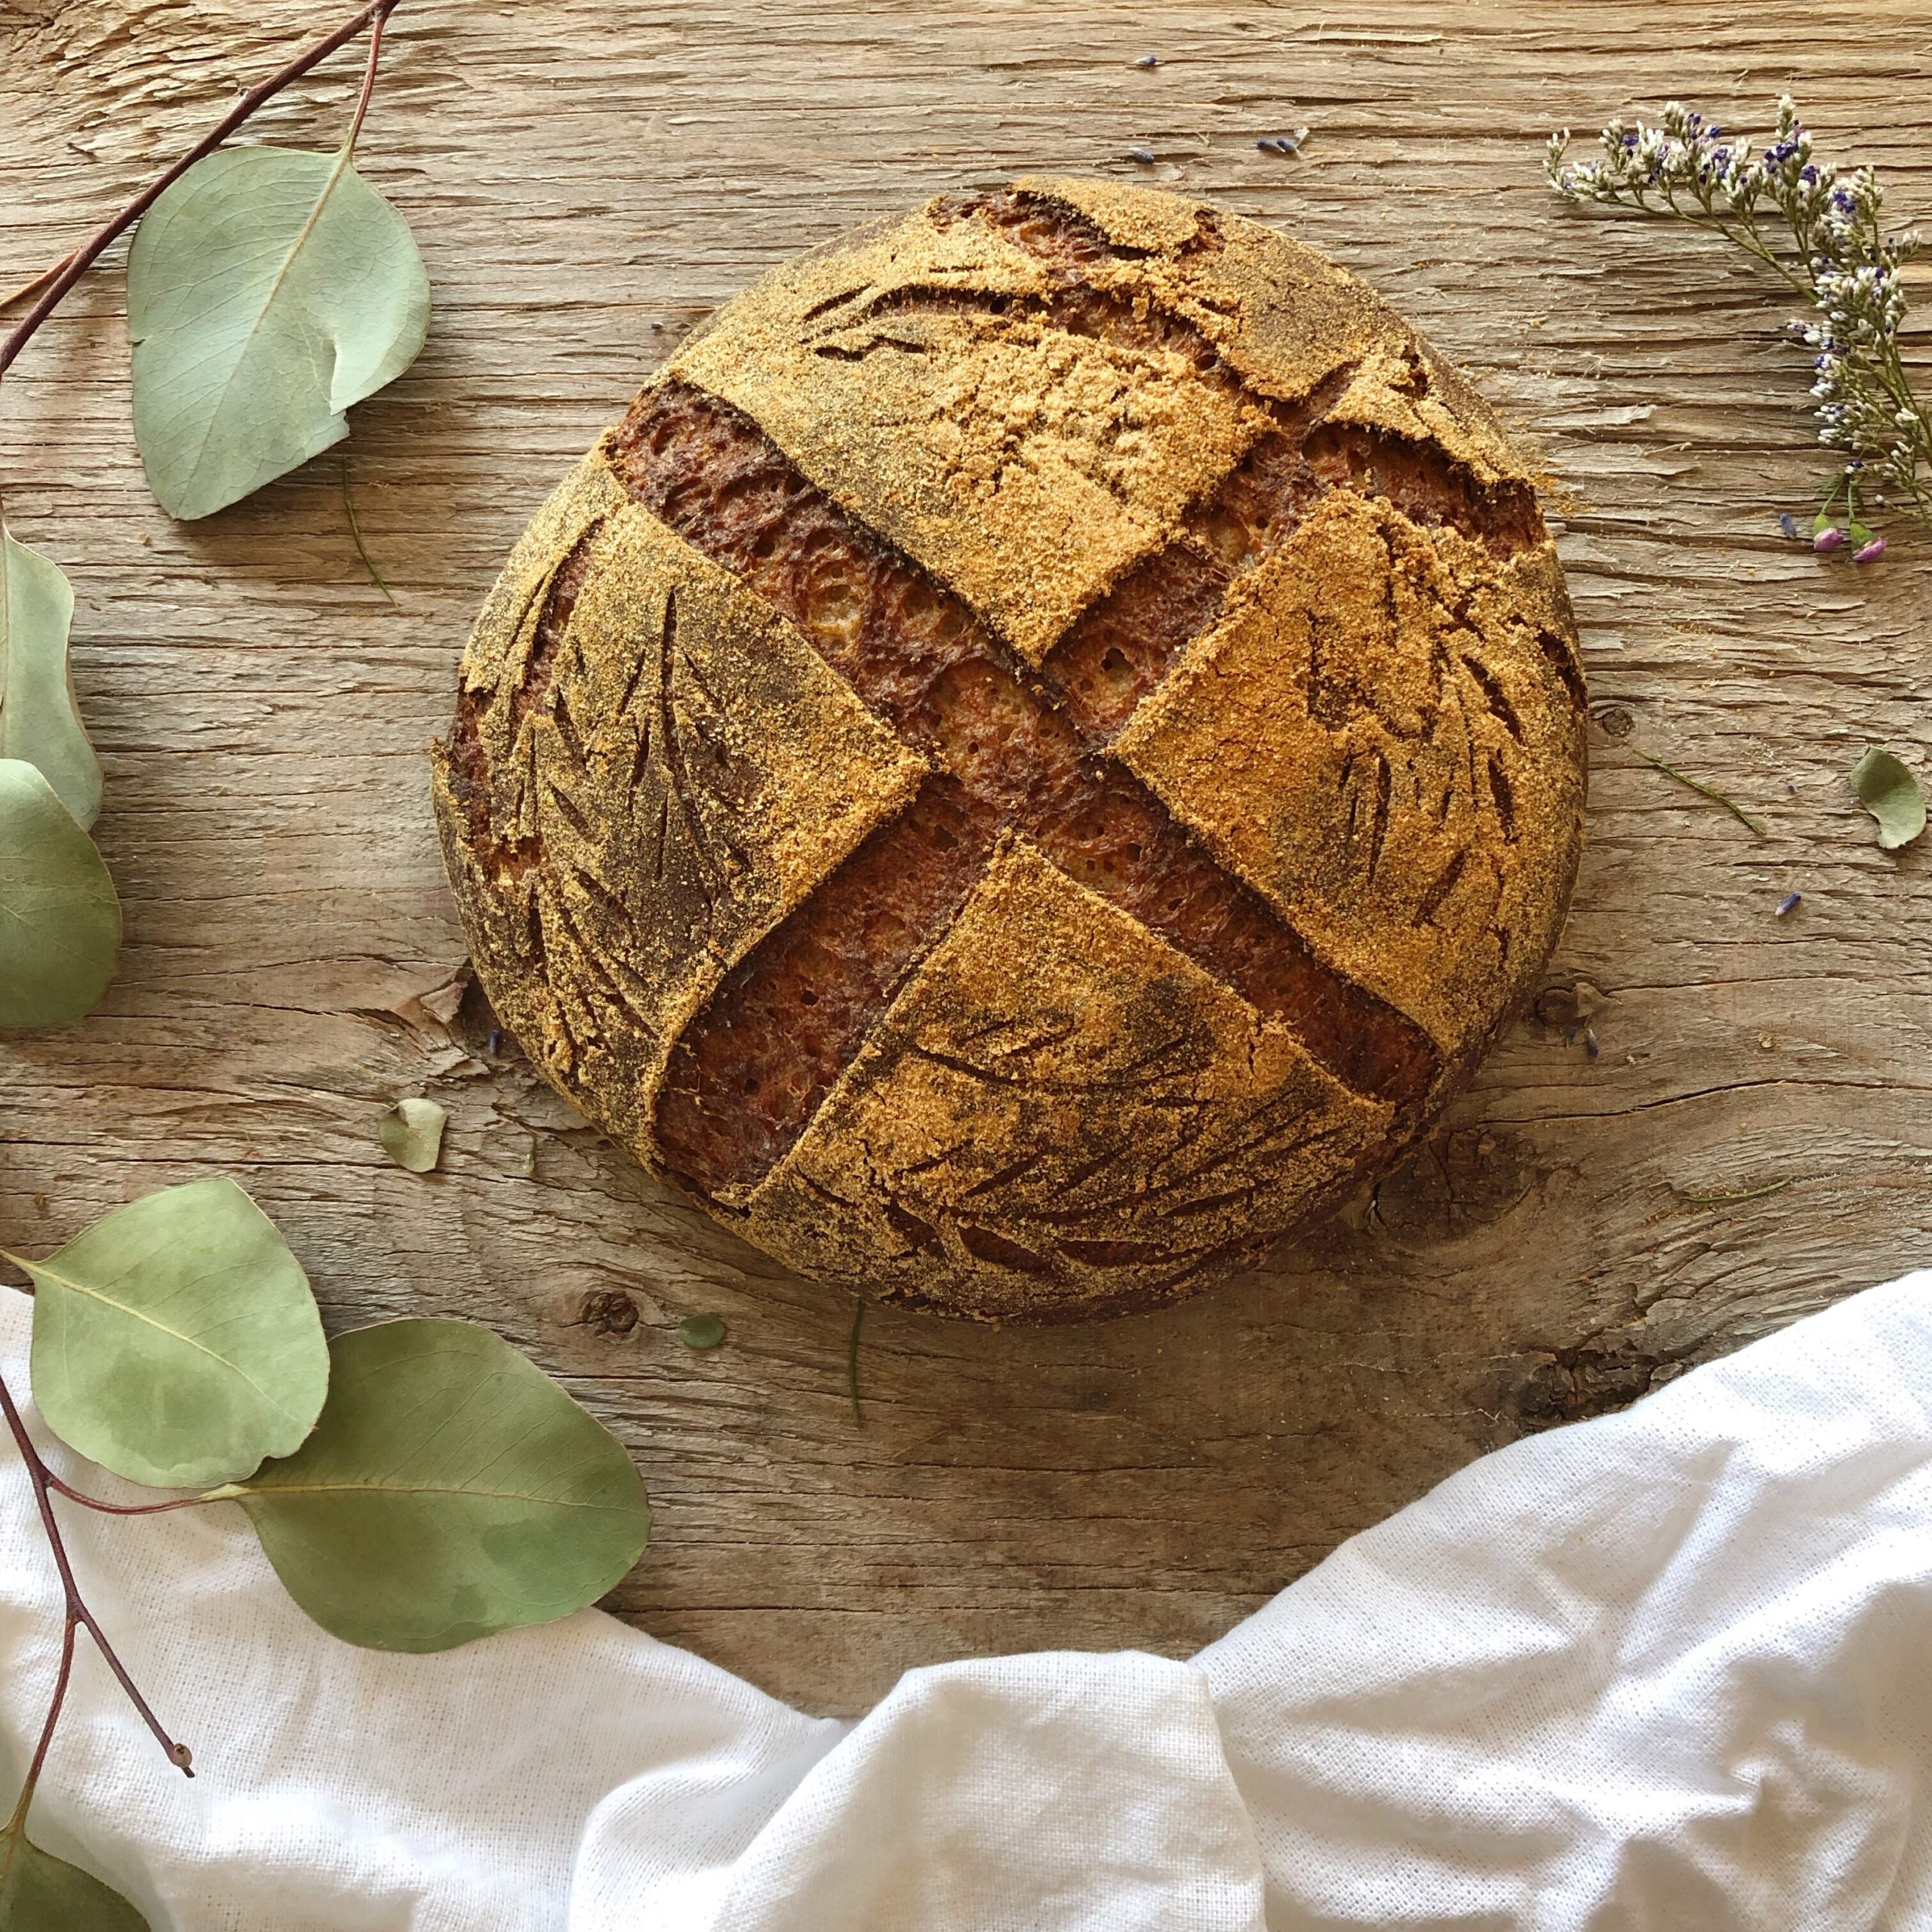
- Bake the dough in a covered Dutch oven for 25 minutes then reduce the heat to 450°F (232°F) and remove the lid. Bake for another 25 minutes.
- If baking the bread on a on a pizza stone or in cast iron frying pan. Bake the dough for 55 to 60 minutes at 450°F (232°F)
- When the bread is cooked, it will sound hollow on the bottom when it is done and it will have a cripsy crust and a firm feel to the bread with no soft spots.
Can you use anything other then the dutch oven to bake the bread in?
Yes a pizza stone or a cast iron frying pan or you can bake it in a loaf pan. Just let it rise in that pan, but don’t cook it at 500°F. Cook it for about 10 – 15 minutes longer at 450
Can you just use All-purpose flour instead of all the different types of flour?
I am going to try it today with an all purpose blend that has no xanthan gum. Anita’s Gf flour
Hi there
I just want to clarify that I should preheat my Dutch oven as I preheat my oven to 500 degrees. Is this correct? Also I noticed in another of your sourdough recipes that you removed the lid of the Dutch oven when you reduced the heat to 450 degrees. It doesn’t say to remove the lid in his recipe. Was it supposed to ?
Yes preheat the Dutch oven as well.
I have made the correction to remove the lid. Thank you for pointing that out
Thanks so much for your prompt reply. I’m baking tomorrow morning so this helps a lot!
You are welcome and happy baking
Hello! Very much looking forward to making my bread. Curious what a good alternative is for sorghum flour? Thank you!
Try half buckwheat, millet, quinoa and brown rice. You may have to adjust wAter up or down. I haven’t tried this myself though
Thanks! Will let you know what happens if I can’t get a hold of sorghum flour this weekend.
What do you suggest as a alternative to Teff Flour and Quinoa Flour? I also have a brown rice flour as a opposed to a Sweet Rice Flour?
Just omit the teff flour and use more sorghum flour. For the quinoa flour I would use oat flour instead and for the sweet white rice flour use brown rice flour. You may have to adjust the water amount with the change of flour.
Mary.
Do you use whole psyllium husk or psyllium husk powder?
The whole husk is what I use. I don’t seem to find the powder in stores although I could grind it
My bread looked and sounded perfect but the inside was super spongey!? What do you think went wrong? I wondered if maybe my starter wasn’t ready? It was my first attempt!
It most likely needs cooking a little longer and it needs to cool completely before cutting into
Ok! I was quite impatient and cut into it way before it was cooled! I baked at 500 in covered Dutch overnight for 25 minutes and then turned down to 450 for another 20. Should I bake for more time at the higher or lower temperature?
Thanks again for everything!!
Hello,
I was just wondering about the timing. My understanding is that you feed the starter in the evening. The next morning you mix the dry flours and add the starter. You fold the dough over 3 times (every 30 min) for aeration. And then the dough rests for 3-5 hours to grow. After that it goes into a banneton overnight in the fridge. How long can the dough stay in the fridge? If it has grown by the 20-40% by 2pm in the afternoon (since everything was started in the morning) – do you leave it in the fridge from that point on?
Thanks for any clarification!
Sometimes I bake it after it has risen well enough the same day at the banneton stage and sometimes I put it in the fridge for 12-18 hours. It varies depending upon my life at home. It also depends upon temperatures in your house
Okay thanks! We will have to see how it goes. I am not sure this first time is going to go so well since my starter hasn’t doubled in size… but I am gonna try anyway!
There is always the second time to improve!
If your starter is not rising well, then your bread will not rise well
Do you stir down your levain before weighing it out and adding it to your mix?
Also, other than the rise, do you have any tips for knowing when the dough is ready for moving into the banneton for the bulk ferment? I’ve had issues with over proofing the dough and was just wondering if you had any tips. For instance, I’ve seen people using the poke test for glutinous sourdoughs, but I didn’t know if that applied here.
Thanks!!
No I don’t stir down the levain.
It’s so hard to judge the proofing time when you are unfamiliar with how the dough looks and how fast or slow it is going. I still sometimes get it wrong myself. The temperature plays a huge part and unfortunately it just takes experience and making it to understand. Just keep making sourdough and take notes as to what you did along with a record of the temperature
The poke test does not work for gluten free in my experience
Thanks so much! Baking it this morning, fingers crossed!!
Do you always take the dough out of the fridge for a while before scoring and baking? I’ve found the seeded bread a bit easier to score straight out of the fridge, but I haven’t tried it with this recipe yet.
Yes. Straight out of the fridge is easiest
I’ve tried using Anitas all purpose gluten free and while my bread is super tasty and has a great crumb, I can’t get it to hold its shape, so it flattens out and ends up only being 3” high. Any suggestions?
With this blend of flour, I have found that it is necessary to reduce the amount of water used. Some flours absorb water very differently and that is why it is difficult from brand to brand. Also make sure you proof the bread in a smaller bowl with high sides. I use a banneton 7.5 inches wide.
Hi. I bought your gluten free bread book. I have never weighed ingredients before. My dough came out like cake batter. Is that what the extra white rice flour is for to thicken the dough? I wish you had a video. In the book the dough appears the same consistency as flour dough. Most my other books say the dough will be wet. .I wish you had described what the dough consistency will look and feel like.
Hi there. Did you use the psyllium husk and weigh your ingredients correctly? You can text me on acoupleofceliacs Instagram account and we can troubleshoot there. On that Instagram page are many videos to show what the dough should look like.
Cheers,
Mary
Hi. I bought your gluten free bread book. I have never weighed ingredients before. My dough came out like cake batter. Is that what the extra white rice flour is for to thicken the dough? I wish you had a video. In the book the dough appears the same consistency as flour dough. Most my other books say the dough will be wet. .I wish you had described what the dough consistency will look and feel like. I’m giving a low rating, because I am uneducated and need more hand holding.