

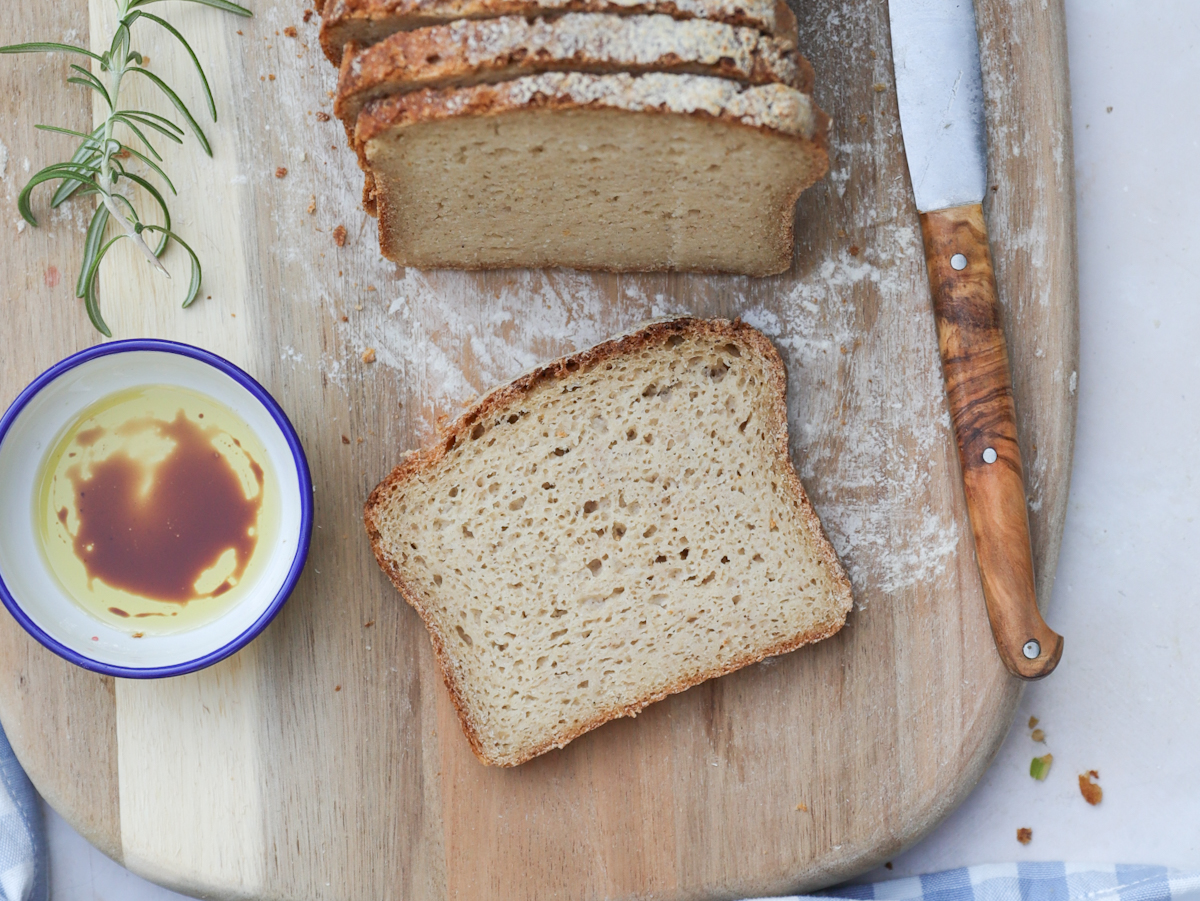
A gluten-free sandwich bread that caters to the needs of individuals with celiac disease, gluten sensitivities and other dietary restrictions! This particular sourdough bread is the lightest loaf I have made since the “Sourdough Whey Bread” in my cookbook! It has a thin, crisp crust and a soft and slightly chewy interior. It reminds me of the bread I used to eat before being diagnosed with celiac disease.
For many of the allergies out there, this is a loaf of bread that is not only gluten-free but also dairy-free, and soy-free, making it suitable for those with a variety of dietary restrictions. To make it nut free just sub the almond flour for more brown rice flour. Whether you follow a gluten-free diet or simply want to incorporate healthier options into your meals, this gluten-free sandwich bread is an excellent choice!

ABOUT THE FLOURS NEEDED TO MAKE THIS GLUTEN FREE SANDWICH BREAD
In all of my recipes I measure just about everything in grams. It is way more accurate and you will need a kitchen scale to make this recipe. Here’s the link to the scale that I use. There are many others available that are just as good and for a cheaper price. I have used my own gluten free flour blend in this recipe.
The flours used this recipe are brown rice flour, almond flour, tapioca starch and millet flour. If you cannot have almond flour, just make up the weight of it with more brown rice flour.
ITS SO EASY! USE ONE BOWL TO MIX THE DOUGH
When mixing the dough, just add the water, psyllium husk, oil and the starter to a bowl. Whisk it and let the psyllium gel work its magic for a few minutes. The addition of psyllium not only enhances the texture of the bread when baked, but it also imparts a soft and tender quality to the bread. There is no substitute for psyllium husk in this recipe.
I have not used psyllium powder, but I know you can substitute the powder and use less. I just do not know how much less.
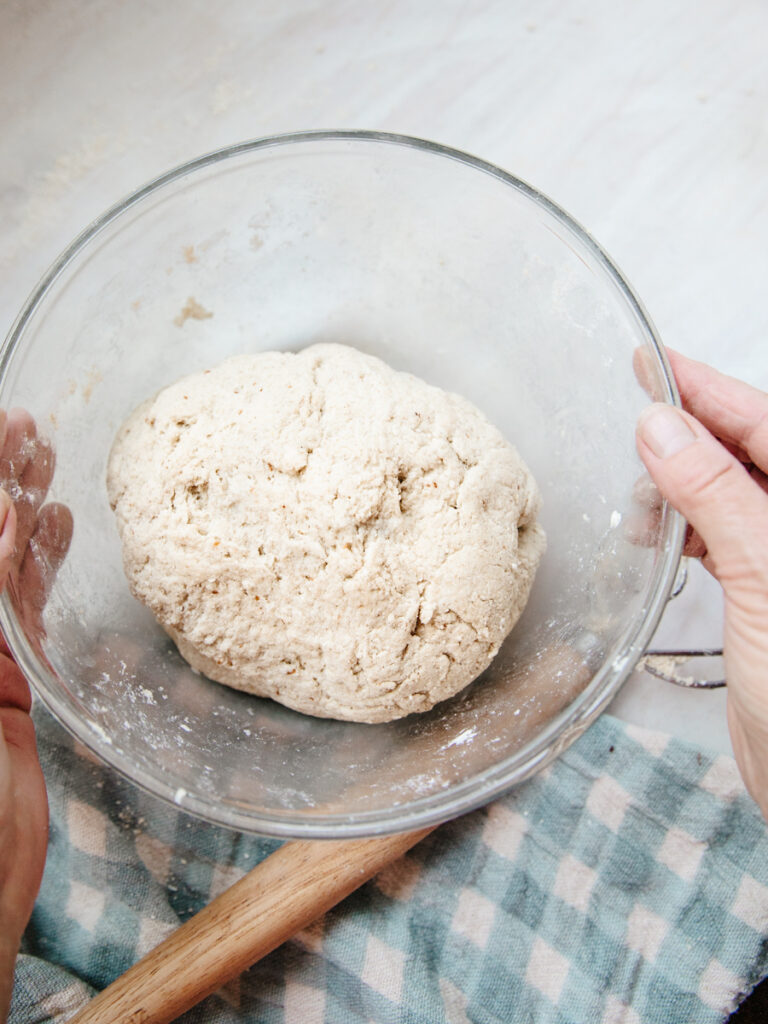
Add the the flours into the psyllium mix, knead the dough on a floured surface for a few minutes, before shaping. Place the dough into a loaf pan, let it rise and bake it! There is no overnight ferment needed for this recipe which makes it a fairly quick process!
Feed the starter the day before, Build the levain first thing in the morning. Feed the levain a second time with no discarding and then bake in the afternoon.
Here’s the link to make a gluten free starter!
https://acoupleofceliacs.com/creating-a-gluten-free-sourdough-starter/
REMEMBER: Always save some starter for future use!
Gluten Free Sandwich Bread
Ingredients
Build the Levain – First Feed
- 30 g active starter
- 30 g warm water
- 20 g brown rice flour
- 10 g millet flour
Levain Second Feed
- 100 g warm water
- 80 g brown rice flour
- 30 g millet flour
Make the Dough
- 325 warm water.
- 10 g olive oil
- 22 g whole psyllium husk
- 100 g brown rice flour
- 30 g almond flour
- 80 g millet flour
- 90 g tapioca starch
- 6 g salt
- 10 g sugar
- 15 g shelled hemp seeds optional
Instructions
Levain Feed 1
- Reactivate your starter the day before you plan on building the levain.
- Using a kitchen scale, weigh 30 grams of active starter in a clean jar that will hold about 750 ml. Add the water, brown rice flour and millet flour. Stir the ingredients well and let the levain sit for 3 to 5 hours, depending upon the house temperature
Levain Feed 2
- Feed the levain a second time without discarding any levain and let it ferment and rise for 3 – 5 hours, or a little longer … or until it is bubbly and has risen to a peak.
Mix the dough
- Line the bottom of a loaf pan with parchment paper.
- In a large bowl, combine all of the levain, water, olive oil and psyllium husk. Immediately whisk in the psyllium and let it gel for 5 minutes. Then addd the brown rice flour, almond flour, millet flour, tapioca starch, salt, sugar and hemp seeds (if using)
- Mix the dough well by hand, or with a kitchen mixer fitted with a dough hook running at medium-low speed, until all the ingredients are completely combined.
- Dust some brown rice flour onto a clean surface and knead the dough for a couple of minutes and shape it into a lot the size of your loaf pan.
- Place the dough in a warm location and let it rest at for 2-5 hours. The proofing time depends on the temperature in your house.
- Preheat the oven to 425°F (218°C). Place the loaf pan inside and bake for 25 minutes. Reduce the heat to 400°F (204°C) and bake for 35 to 40 minutes
- Cool the sourdough for 20 minutes before removing from the pan and then cool the bread for at least 2 hours before cutting.
- Slice and freeze half of the loaf and keep the rest covered and on the counter for 3 or 4 days.
Hi there. Do you have a sourdough starter recipe I can use with your sandwich loaf?