

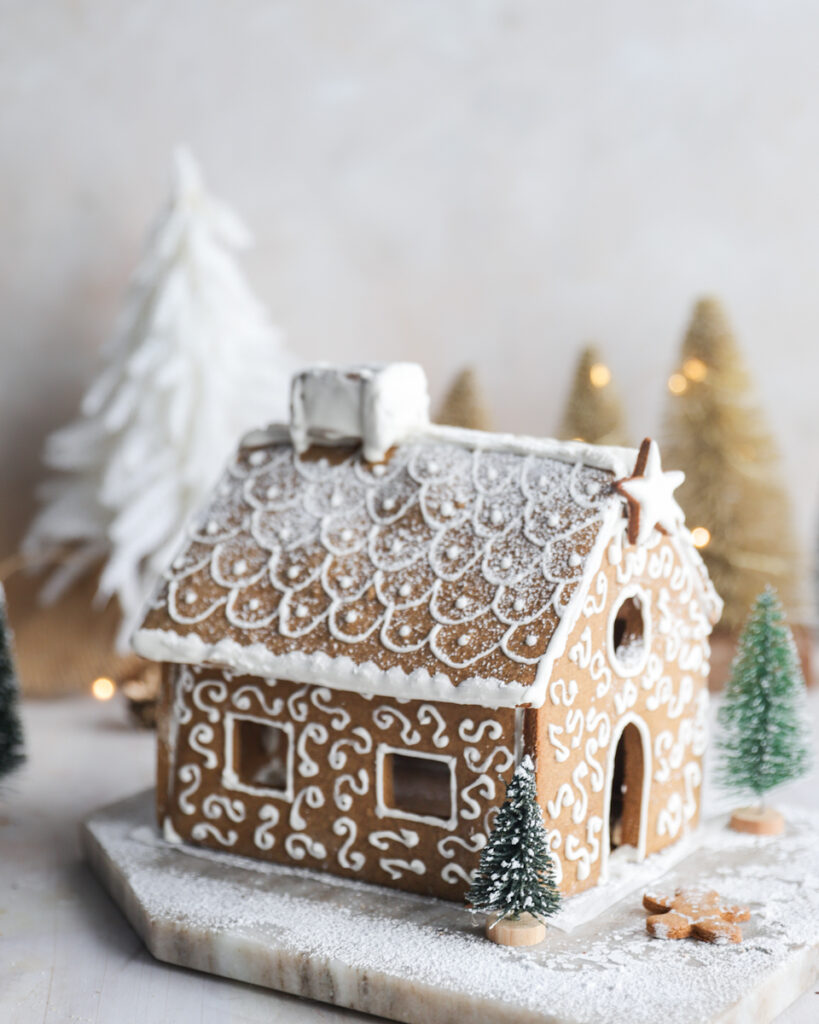
This gluten-free gingerbread house dough is soft enough to roll, sturdy enough to build with, and delicious enough to eat. It holds its shape beautifully, doesn’t crack or crumble, and works with both cookie cutters and custom templates. Whether you’re making a simple cozy cabin or a fully decorated holiday piece, this gluten-free gingerbread house makes festive baking easy and fun.
Ingredients for This Gluten-Free Gingerbread House
GF flour blend – Provides the structure and body for the walls, roof, and other pieces, replacing traditional wheat flour. For this recipe, I used (this flour) Anita’s Organic GF All Purpose Flour (not the 1:1 blend). This mix contains oat flour, brown rice flour, potato starch, tapioca flour, and arrowroot powder. It has no xanthan gum, so I have added just a quarter of a teaspoon along with psyllium husk for the best structure. An ideal combination for creating a sturdy gluten-free gingerbread house.
Psyllium husk and xanthan gum – Create excellent binding properties for this flour blend and help your GF gingerbread ouse dough hold together perfectly.
Brown sugar – Sweetens and binds the GF dough, while adding slight chewiness and caramel flavour, crucial for crafting yout gluten-free gingerbread house.
Butter (or dairy-free alternative) – Adds richness, flavour, and helps create tender pliable dough that’s easy to roll and cut.
Fancy Molasses and Golden syrup – Gives the classic gingerbread its colour, deep flavour, and moisture to the dough. You could switch the golden syrup for more molasses for that stronger taste, but I love the combination of both.
Egg – Binds the dough together, helping your gluten-free gingerbread house hold its shape when baked, ideal for constructing your house.
Spices – Provide the signature warm gingerbread house flavour.
Baking powder – Acts as a leavening agent, helping the dough rise slightly and preventing it from being too dense.
Tips For Baking Gluten-Free Gingerbread House
Chill Time Matters
Chilling the dough helps prevent the pieces spreading and gives the structure strength. Chill cut pieces at least 20 minutes before baking to ensure a finished piece with straight edges.
Baking Tips For Your Gluten- Free Gingerbread House
Roll the dough to ¼ inch thickness for sturdy walls and roofs. If the pieces puff slightly, gently press with a flat spatula while warm. Let pieces cool fully before assembly, but overnight is best for maximum strength. This ensures your GF gingerbread house will stay standing.
Royal Icing
Keep the icing covered with plastic wrap between uses because it dries fast, which is key for decorating your GF gingerbread house successfully.
Assembling Gluten-Free Gingerbread House
Glue the walls first and let them set before adding the roof. Support with glasses or mugs while drying. These techniques ensure your holiday gingerbread house is sturdy.
Decorating Ideas
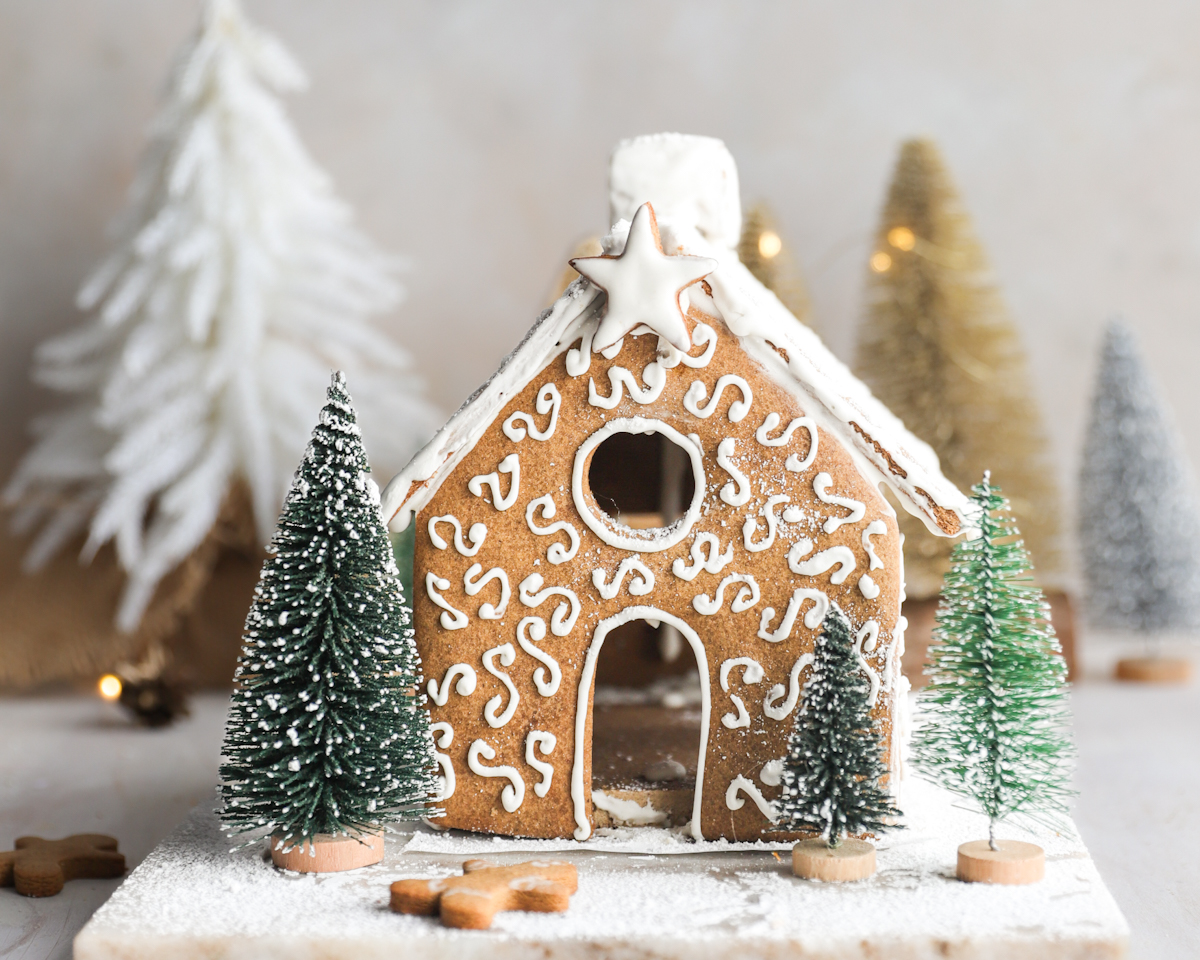
Use white royal icing scrollwork, candy canes, sprinkles, snowy coconut flakes or a dusting of icing sugar. Food-safe shimmer dust, peppermint windows, and gingerbread cookie trees or fences can embellish your house beautifully.
FAQ For Gluten Free Gingerbread House
Does this gingerbread taste good or is it just structural?
It tastes like classic gingerbread, with warm spices, molasses, and crisp edges. Perfect for a delicious and gorgeous gluten-free gingerbread house.
Can I make it dairy-free?
Yes! Just use vegan butter and ensure decorations are dairy-free.
How long does the gingerbread house last?
Once assembled, this gluten-free ginger-bread house keeps up to 3 weeks, covered and depending on humidity.
Can kids decorate it?
Yes! This gluten-free gingerbread house dough is sturdy, forgiving, and perfect for decorating with the kids … that’s part of the fun.

I used a gingerbread house kit bought on Amazon (this one here) and it was so easy. This recipe makes two of these houses. Alternatively, you can use these measurements to cut your own cardboard house template and make a DIY version. Here’s a breakdown of the pieces:
| Piece | Size (inches) | Size (cm) | Quantity |
| Front & back wall | 4.9 x 5.5 | 12.5 x 14 | 2 |
| Side wall | 5.6 x 3.1 | 14.3 x 8 | 2 |
| Roof and Floor | 6.7 x 3.9 | 17 x 10 | 3 |
| Height to front and back peak | 5.7 | 14.5 |
Gluten-Free Gingerbread House
Ingredients
- 200 g butter softened
- 200 g brown sugar
- 2 large eggs
- 100 g molasses
- 60 g golden syrup
- 800 g gluten-free All Purpose Flour I used Anita’s GF AP without xanthan gum
- 13 g psyllium husk powder
- 1/4 tsp xanthan gum
- 1 1/2 tsp baking powder
- 8 g ground ginger
- 7 g ground cinnamon
- 3 g ground nutmeg
- 1/2 tsp all spice
- 4 g salt
- 1 tsp cocoa powder optional
Royal Icing
- 300 g Icing sugar Wholesome Foods is gluten free
- 1 egg white, room temperature
- 1/4 tsp cream of tartar
Instructions
Mixing the Dough
- Cut out the gingerbread house templates if making your own.
- In a medium bowl cream the butter and sugar for about 2 minutes until smooth and creamy. Then beat in the eggs, molasses and golden syrup.
- In a medium bowl whisk together the flour, psyllium, xanthan gum, baking powder, salt, spices, and cocoa. Add this to the wet mixture, in 2–3 additions. Mix until it forms a dough ball.
- Flatten into discs, wrap, and place in the fridge for a minimum of 1 hour or leave overnight.
Rolling and Shaping the Dough
- Remove the dough from the fridge and let it warm for 20 minutes.
- Roll the dough between parchment paper to 1/4 inch thickness.
- Press the cookie cutter house pieces into the dough. You will need 2 Front and Back Walls, 2 Side walls and 2 roof pieces and a floor. You could omit the floor and attach the house to a covered board or plate.
Chilling and Baking the Dough
- Transfer the parchment paper and dough carefully to a lined baking sheet and chill for 20 minutes before baking. This is key for clean edges and to stop the dough getting out of shape.
- Any leftover dough can be used to make small gingerbread men or trees.
- Bake at 350°F (177°C) for 12-15 minutes or until they are golden brown on the edges and the top.
Royal Icing
- In a clean dry bowl, beat together the egg whites and cream of tarter until slightly foamy.
- Gradually add the icing sugar to the egg whites and beat on low speed. Then increase the speed to medium and beat for 2 or 3 minutes until thick and smooth. Sort of like glue.
Building and Decorating
- Place some icing into a piping bag and decorate each section when the pieces are well and truly cooled
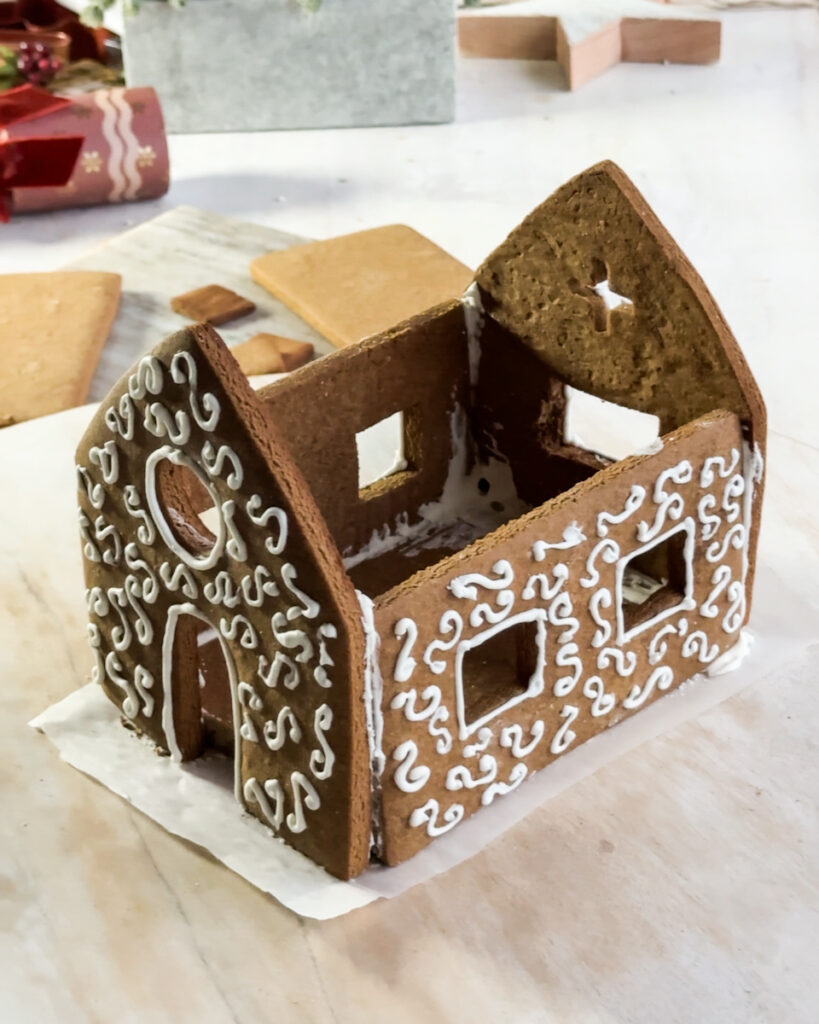
- Decorate and then build the house by adding thick lines of icing to the side pieces and attacing it to the front piece. Hold it or use something to support it for a few minutes
- Attach the back wall and let the pieces set firmly before attaching the two sides.
- Once the sides are well set, after a few hours. Attach the two roof pieces and finish the final decorating touches and save any leftover icing, covered and in the fridge for decorating cookies.
Be the first to comment