

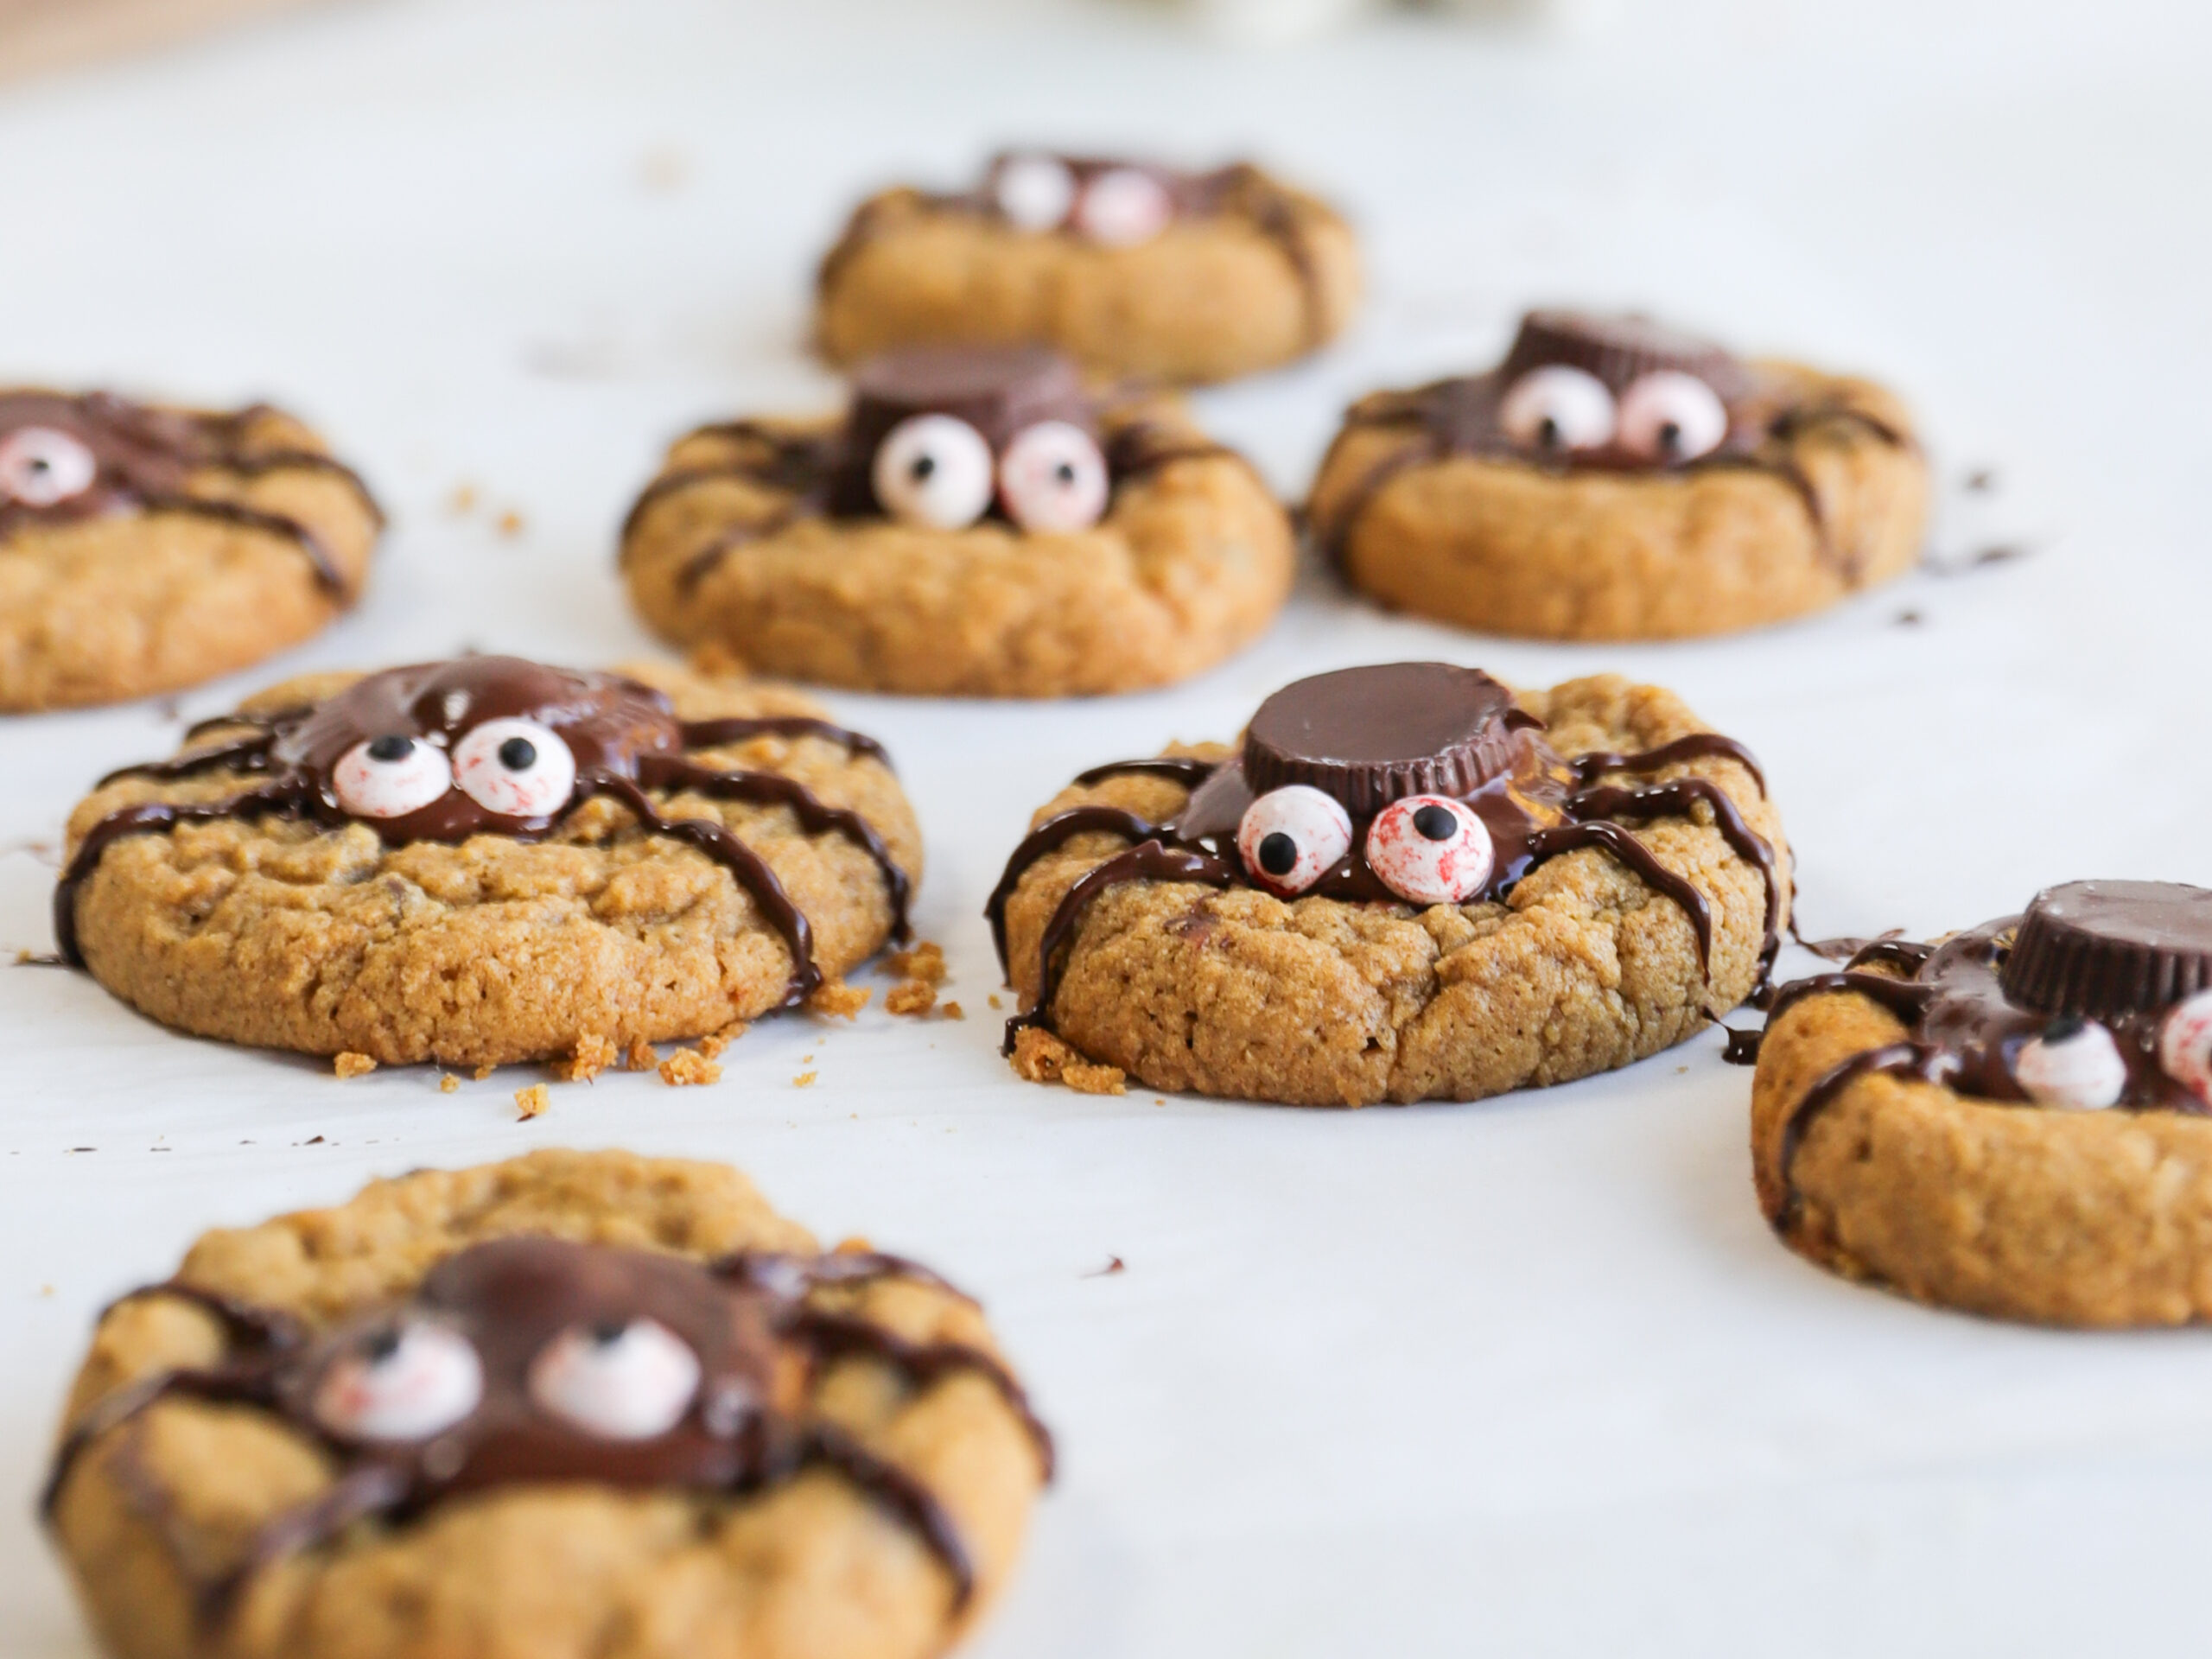
Spider cookies that are gluten free, and so yummy! These tasty treats will easily satisfy that sweet craving while looking a tad spooky! They have a fun Halloween twist and they did not even last for 24 hours in my house!
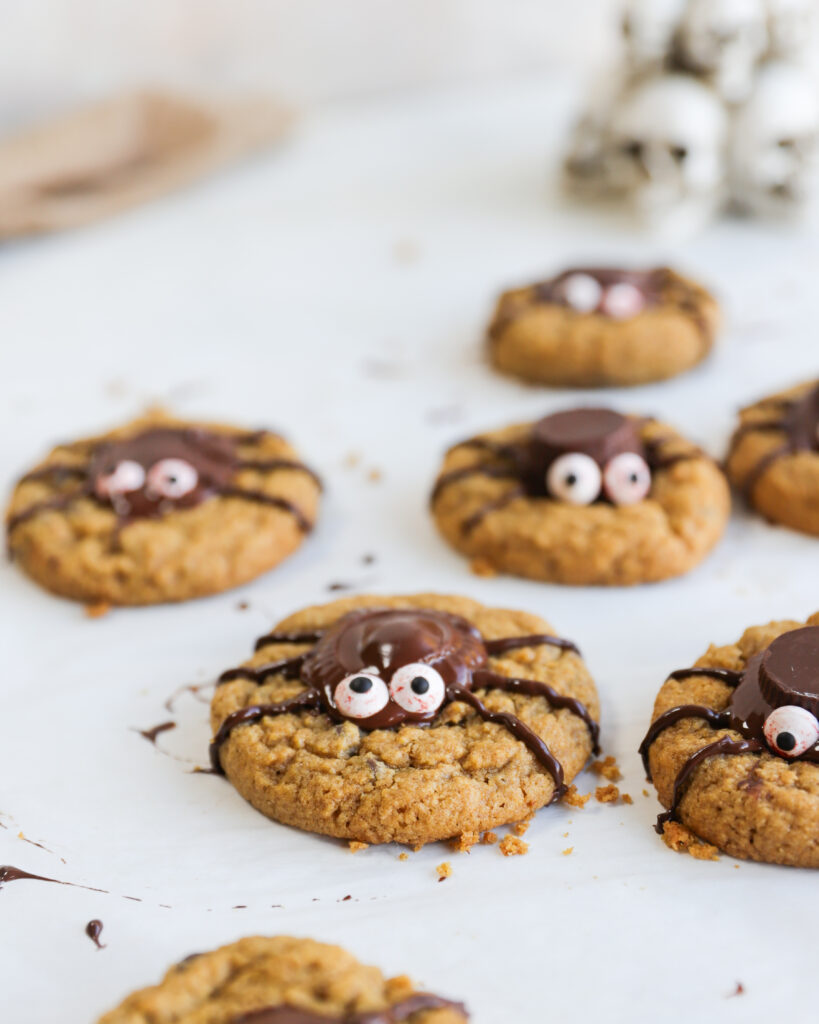
The base of these cookies is a light and airy, chocolate chip and pumpkin dough. The addition of the pumpkin gives the cookies the best texture and helps to naturally bind the gluten free flours.
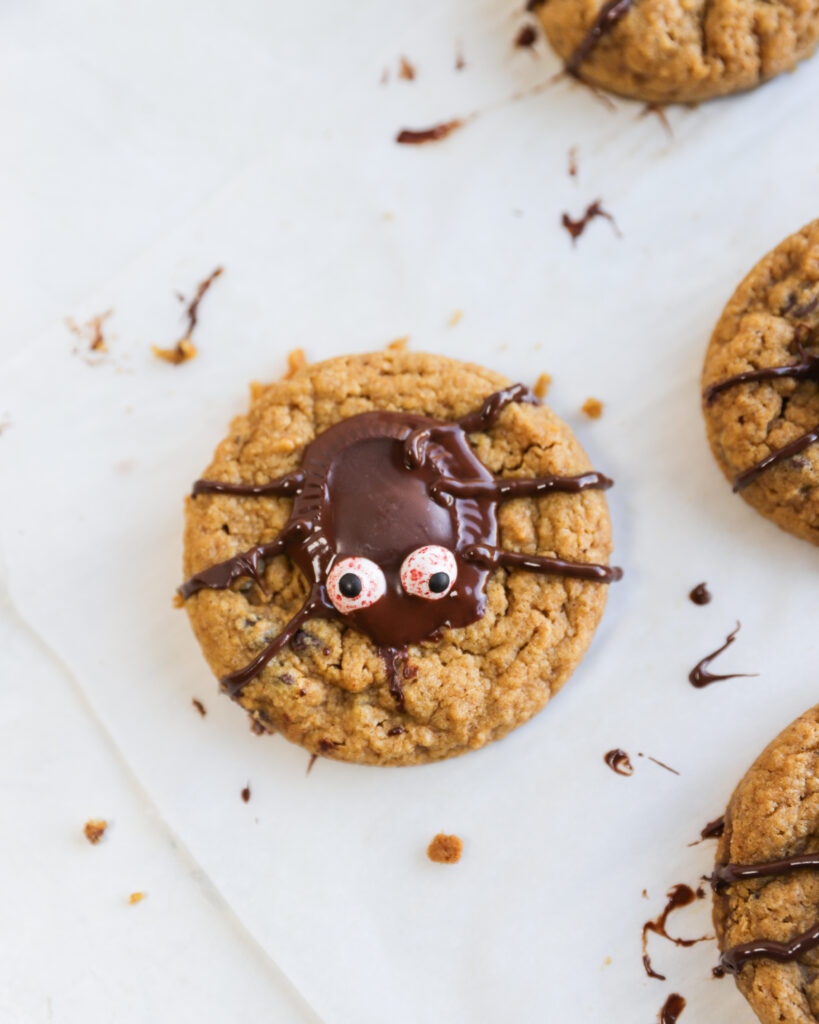
To give these cookies their spider appearance, you just need to add a mini peanut butter cup to the cookies after they are baked. Some melted chocolate chips make the perfect spider legs.
1. Gather the Ingredients
In this recipe you will need a kitchen scale, which is quicker to use and more accurate. Here’s the link to the scale that I use. There are many others available that are just as good and for a cheaper price.
I have used my own gluten free flour blend in this recipe. You will need: millet flour, tapioca starch, and oat flour. Substitute quinoa flour for the oat flour if you cannot tolerate gf oats.
Begin by preheating your oven to 375°F (190°C) and lining a large baking tray with parchment paper. In a mixing bowl, whisk together the gluten-free flour blend, baking powder, pumpkin pie spice and salt.
Beat together the softened butter and the sugars in a separate bowl until the mixture is light and fluffy and then add in the pumpkin puree and the psyllium husk. Next, gradually add the dry ingredients in to the wet mixture, and combine it well.
2. Make the Spider Cookies
Using a cookie scoop, place the dough on a baking tray lined with parchment paper, spacing them about 3 inches apart. Bake the cookies on parchment paper on top of a cookie sheet in the centre of the oven. After about 13 minutes of baking the edges of the cookies should be lightly brown and crisp.
3. Assemble the Spider Cookies
Once the cookies have baked and they are still warm, they can then be transformed into creepy halloween spiders! While the cookies are still warm, remove the wrappers from the gluten free peanut butter cups. Gently push them into the centre of each cookie.
4. Add the Legs and Eyes
To give your spiders their legs, melt the remaining chocolate chips in the microwave and for the finishing touch, attach edible candy eyes to the spider’s body.
Spider Cookies
Equipment
- 1 large cookie scoop
- 1 large baking tray
- parchment paper
Ingredients
- 80 g millet flour
- 40 g tapioca starch
- 50 g oat flour
- 2 tsp baking powder
- 2 tsp pumpkin spice
- 1/8 tsp salt
- 100 g soft butter
- 50 g brown sugar
- 80 g white sugar
- 70 g pumpkin puree
- 2 g whole psyllium husk
- 100 g semi sweet chocolate chips, divided half for the dough and half melted for the legs
- 12 mini peanut butter cups I used Justins brand that are labelled GF
Instructions
- Preheat the oven to 375°F (190°C) and line a baking sheet with parchment paper.
- In a medium sized bowl, whisk together the millet flour, tapioca starch, oat flour, baking powder, spice and salt. Set aside.
- In a separate bowl, beat the softened butter and sugars on low speed for about 2 minutes, or until light and fluffy and lighter in colour.
- Add the pumpkin puree and psyllium husk to the butter and sugar and beat for about 1 minute.
- Gently mix half of the dry ingredients into the wet mixture, and then beat for about a minute to combine well. Fold in the remaining flour blend and then the chocolate chips.
- Using a cookie scoop that holds 2 or 3 tablespoons. Scoop up the dough and place onto the prepared baking sheet, leaving about 3 inches of space between each cookie.
- Bake the cookies in the preheated oven for about 13 minutes, or until the edges are golden brown.
- While the cookies are baking, melt the chocolate chips in a microwave safe bowl, stirring every 30 seconds until smooth and melted.
- Remove the cookies from the oven and place a round English muffin ring, or a large glass over the warm dough, and swirl for the perfect round cookie.
- While the cookies are warm, press the peanut butter cups into the dough and pipe the melted chocolate on the sides of the cookies for the spider legs.
- While the cookies are warm and the chocolate cups are soft, place two candy eyes on each cookie.
- Leave the cookies to cool and the chocolate to set completely. If there are any left, store them in an airtight container for 3 to 4 days.
Be the first to comment